Comfy Projects
An RC Car that's easy to build & fun to play with.
Components
Here are some components you need for this project. Most of these can be used for multiple projects!
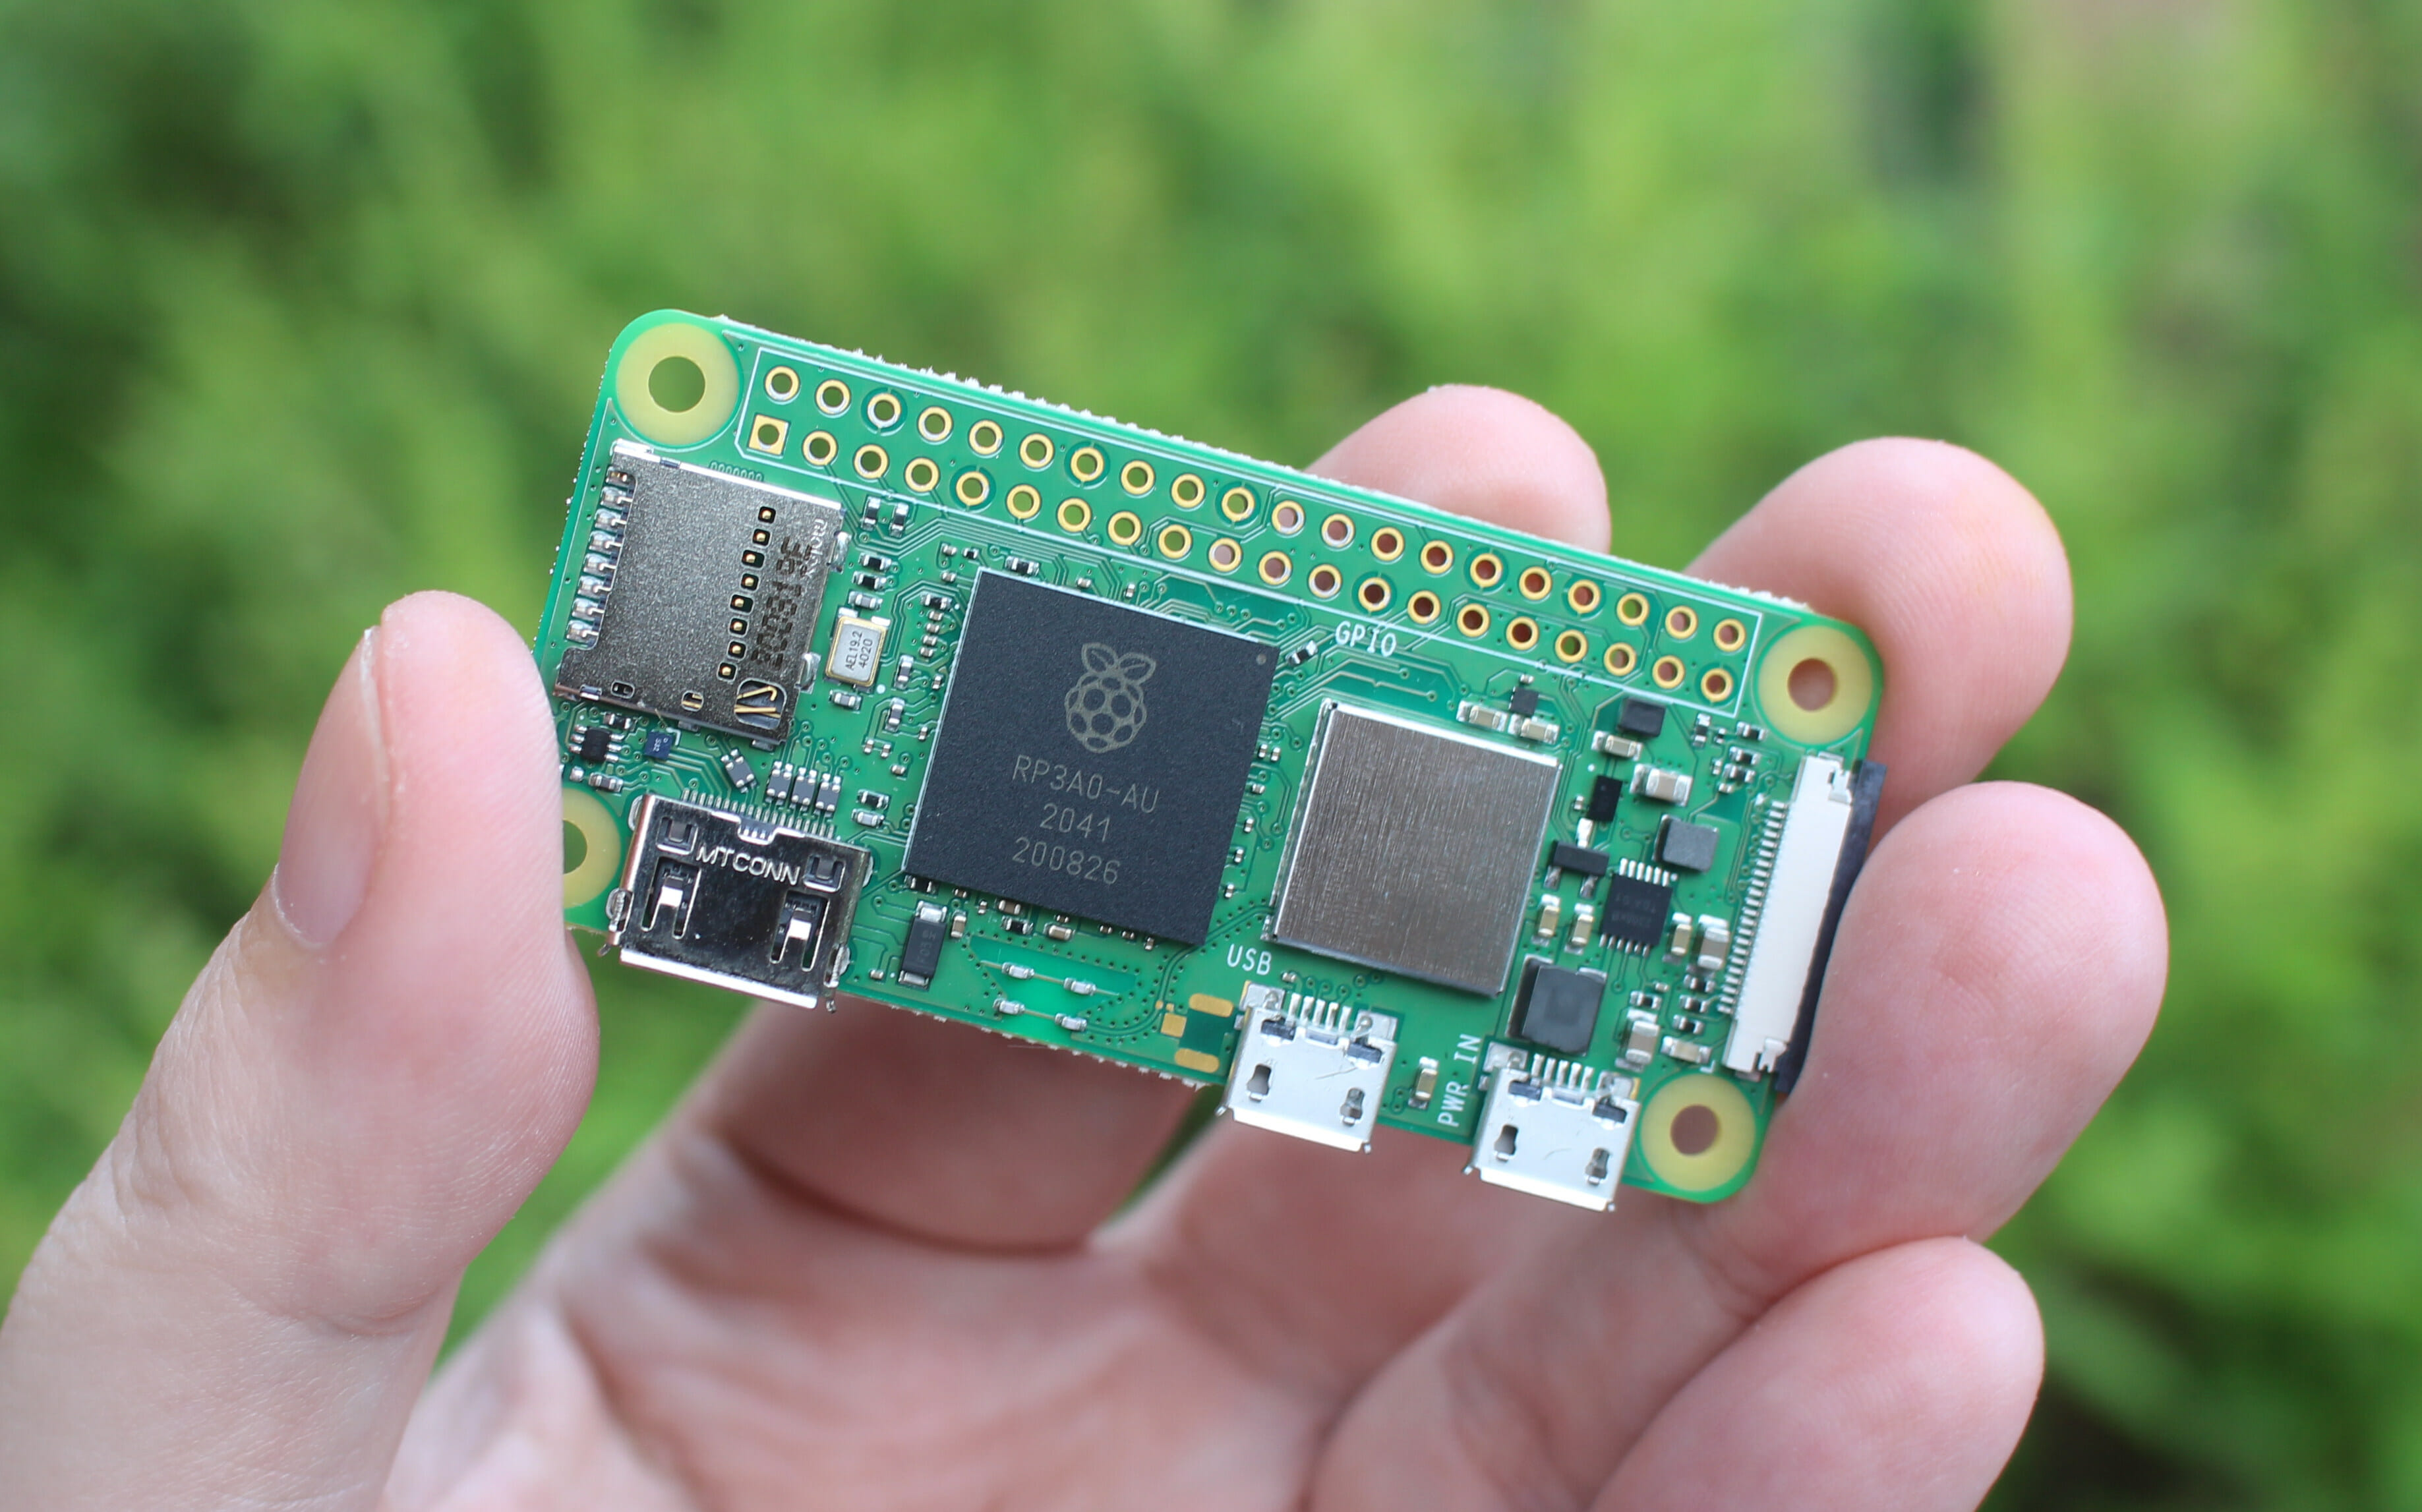
Small but mighty. Packed with plenty computing power, this bad boy controls are of the motor operations.
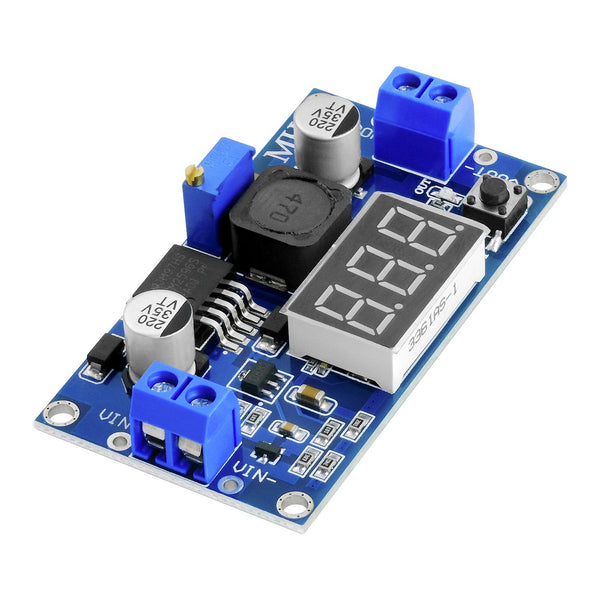
Regulates voltage from the AA batteries to power the Raspberry Pi

This is the horsepower for Playcar. Cheap but packs a punch.

Motors are naturally dumb. This helps the Raspberry Pi "talk" to the motors more effectively.

Yes, Playcar runs on AA batteries. You can buy a pack with your eyes closed.

You only need a set of holders for 4 & 2 AA batteries. But they only sell a pack on Amazon.

These are easy to use cables to create electrical connections. TLDR - jumper cables make car goes brrr. A pack will last you 10 projects

Wood screws (because they're cheap) to assemble parts together. A pack will last you years worth of projects.

Used to connect wires together. Great & cheap alternatives to soldering. If you already have a soldering iron & solder, you can skip this.
Tools
You might already have these tools. If not, ask around!
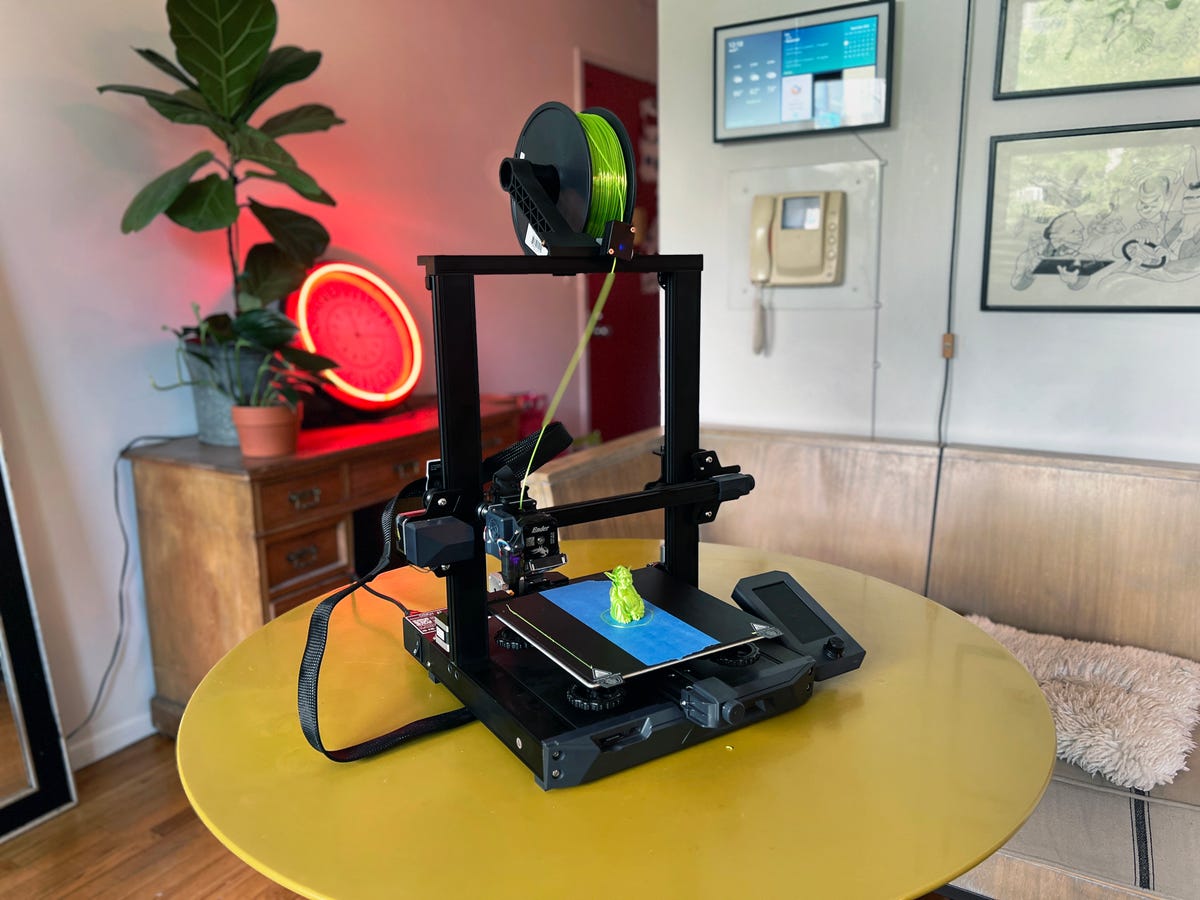
This helps print the body of Playcar. A 150$ Ender-3 printer can last for years (at least mine does).

Used to cut & strip wires. My 6$ wire stripper is two year old & still working fine.

Nothing fancy, a cheap set from your local grocer should work. Just make sure you have both hex & flat-head bits.
First let's print the 3D parts. You can find the 3d files & instruction in the link below.
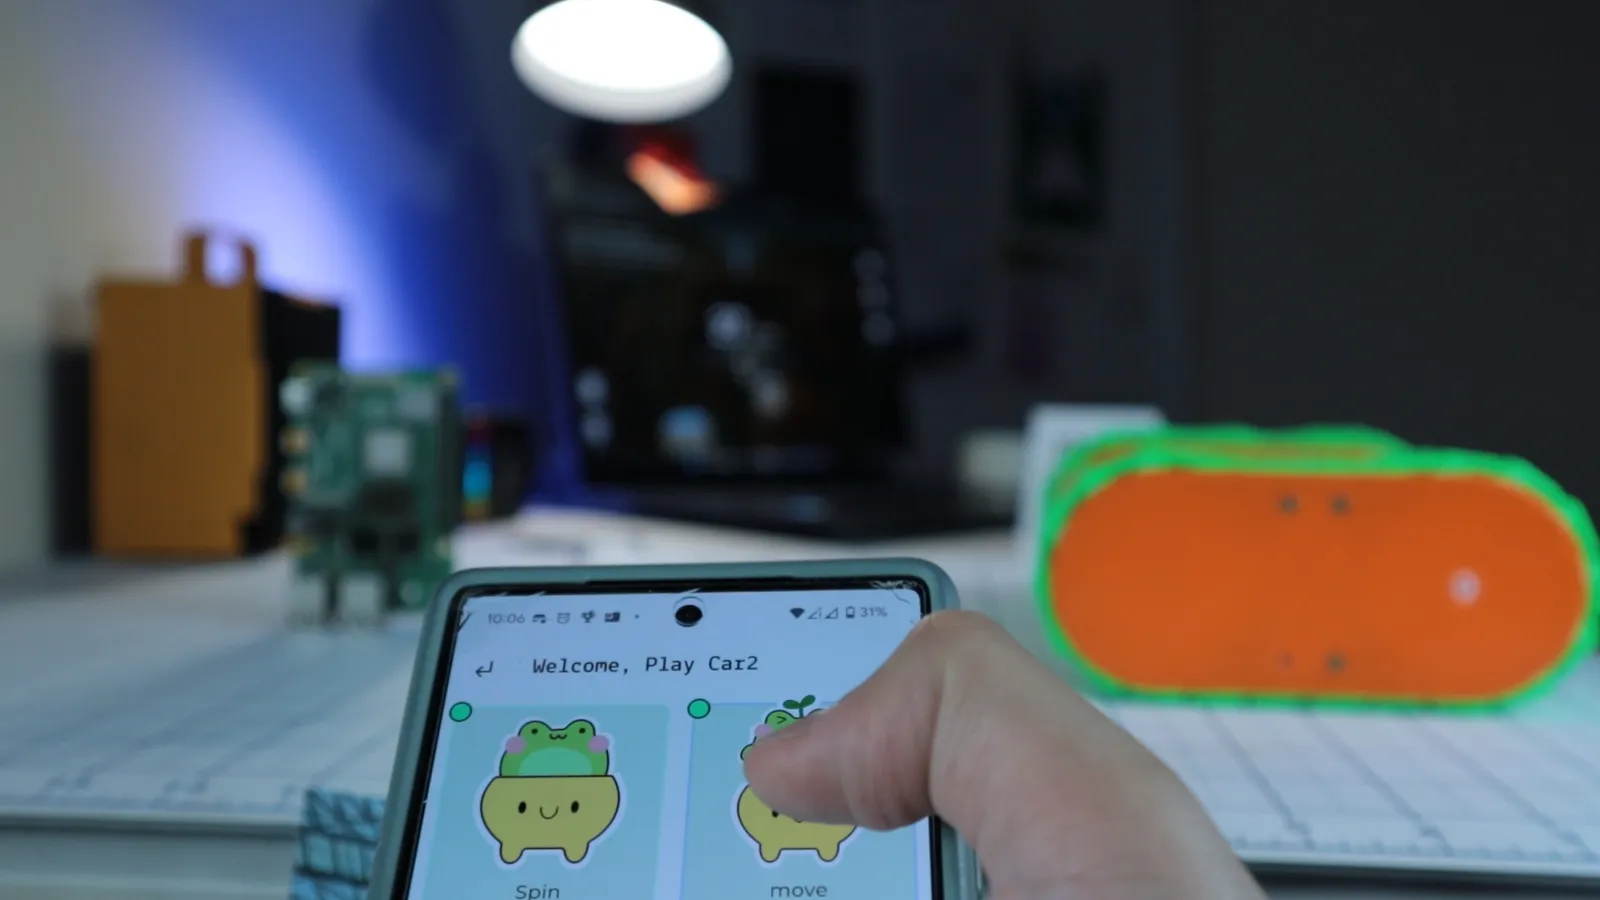
Download the STL files below & 3D print them.
If you don't have access to a 3D printer, email me at thomas@comfyspace.tech and I will print for you for free!
Let's put together the electronics & 3d-printed parts.
Take a moment to admire what you just built! Whoever designed this must be a genius.
Did you know that the wheels are very traversal?. Well, now you do!
To provide power & data/control for the whole system, we will connect parts together using jumper wires.
Just follow the schematic below and you'll be fine!
You can use butt connectors if soldering is not your jam!
Finally, put on the lid!
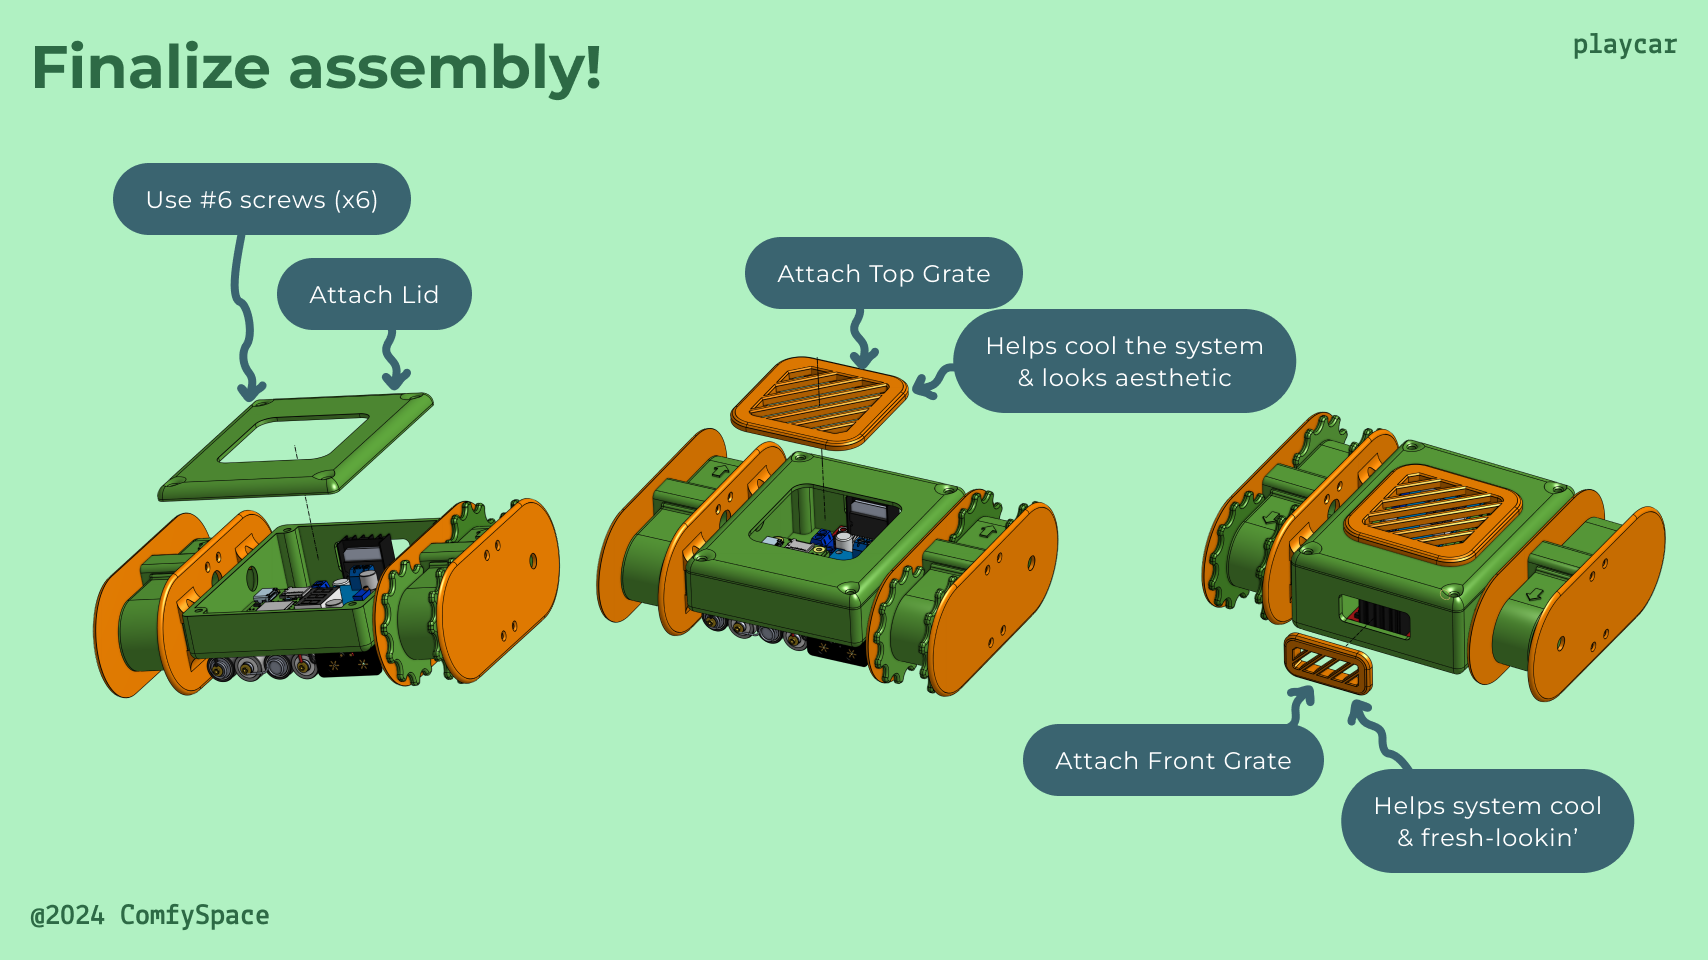
Now, your robot is just a slew of plastics & metal binded together as a stylish paperweight. Let's put some software to make it sentient.
Follow the video instruction to prepare the Operating System (OS).
Next, follow the video to turn on the robot (for the first time), yay!
If you have a Linux/Mac computer, open "Terminal" and run "dig +short comfy.local" instead
This is the final step to bring your Frankenstein to life!
In a professional setting, an experienced roboticist uses proprietary controllers and sophisticated remote control hardware.
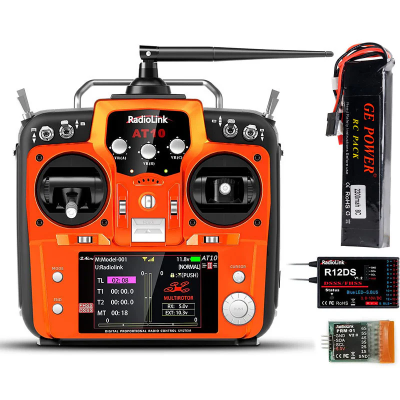
We ain't got no time or money for that. But we (mostly) have a smartphone!
That's why I created ComfySpace, an application to control robots remotely.
Using the application, we will use your phone as a remote controller
Go & play with your PlayCar!
Congrats on your Playcar! Enjoy it, show it to neighbors, and share online. Email me a picture or video at thomas@comfyspace.tech to brighten my day!

Available on both Android and iOS
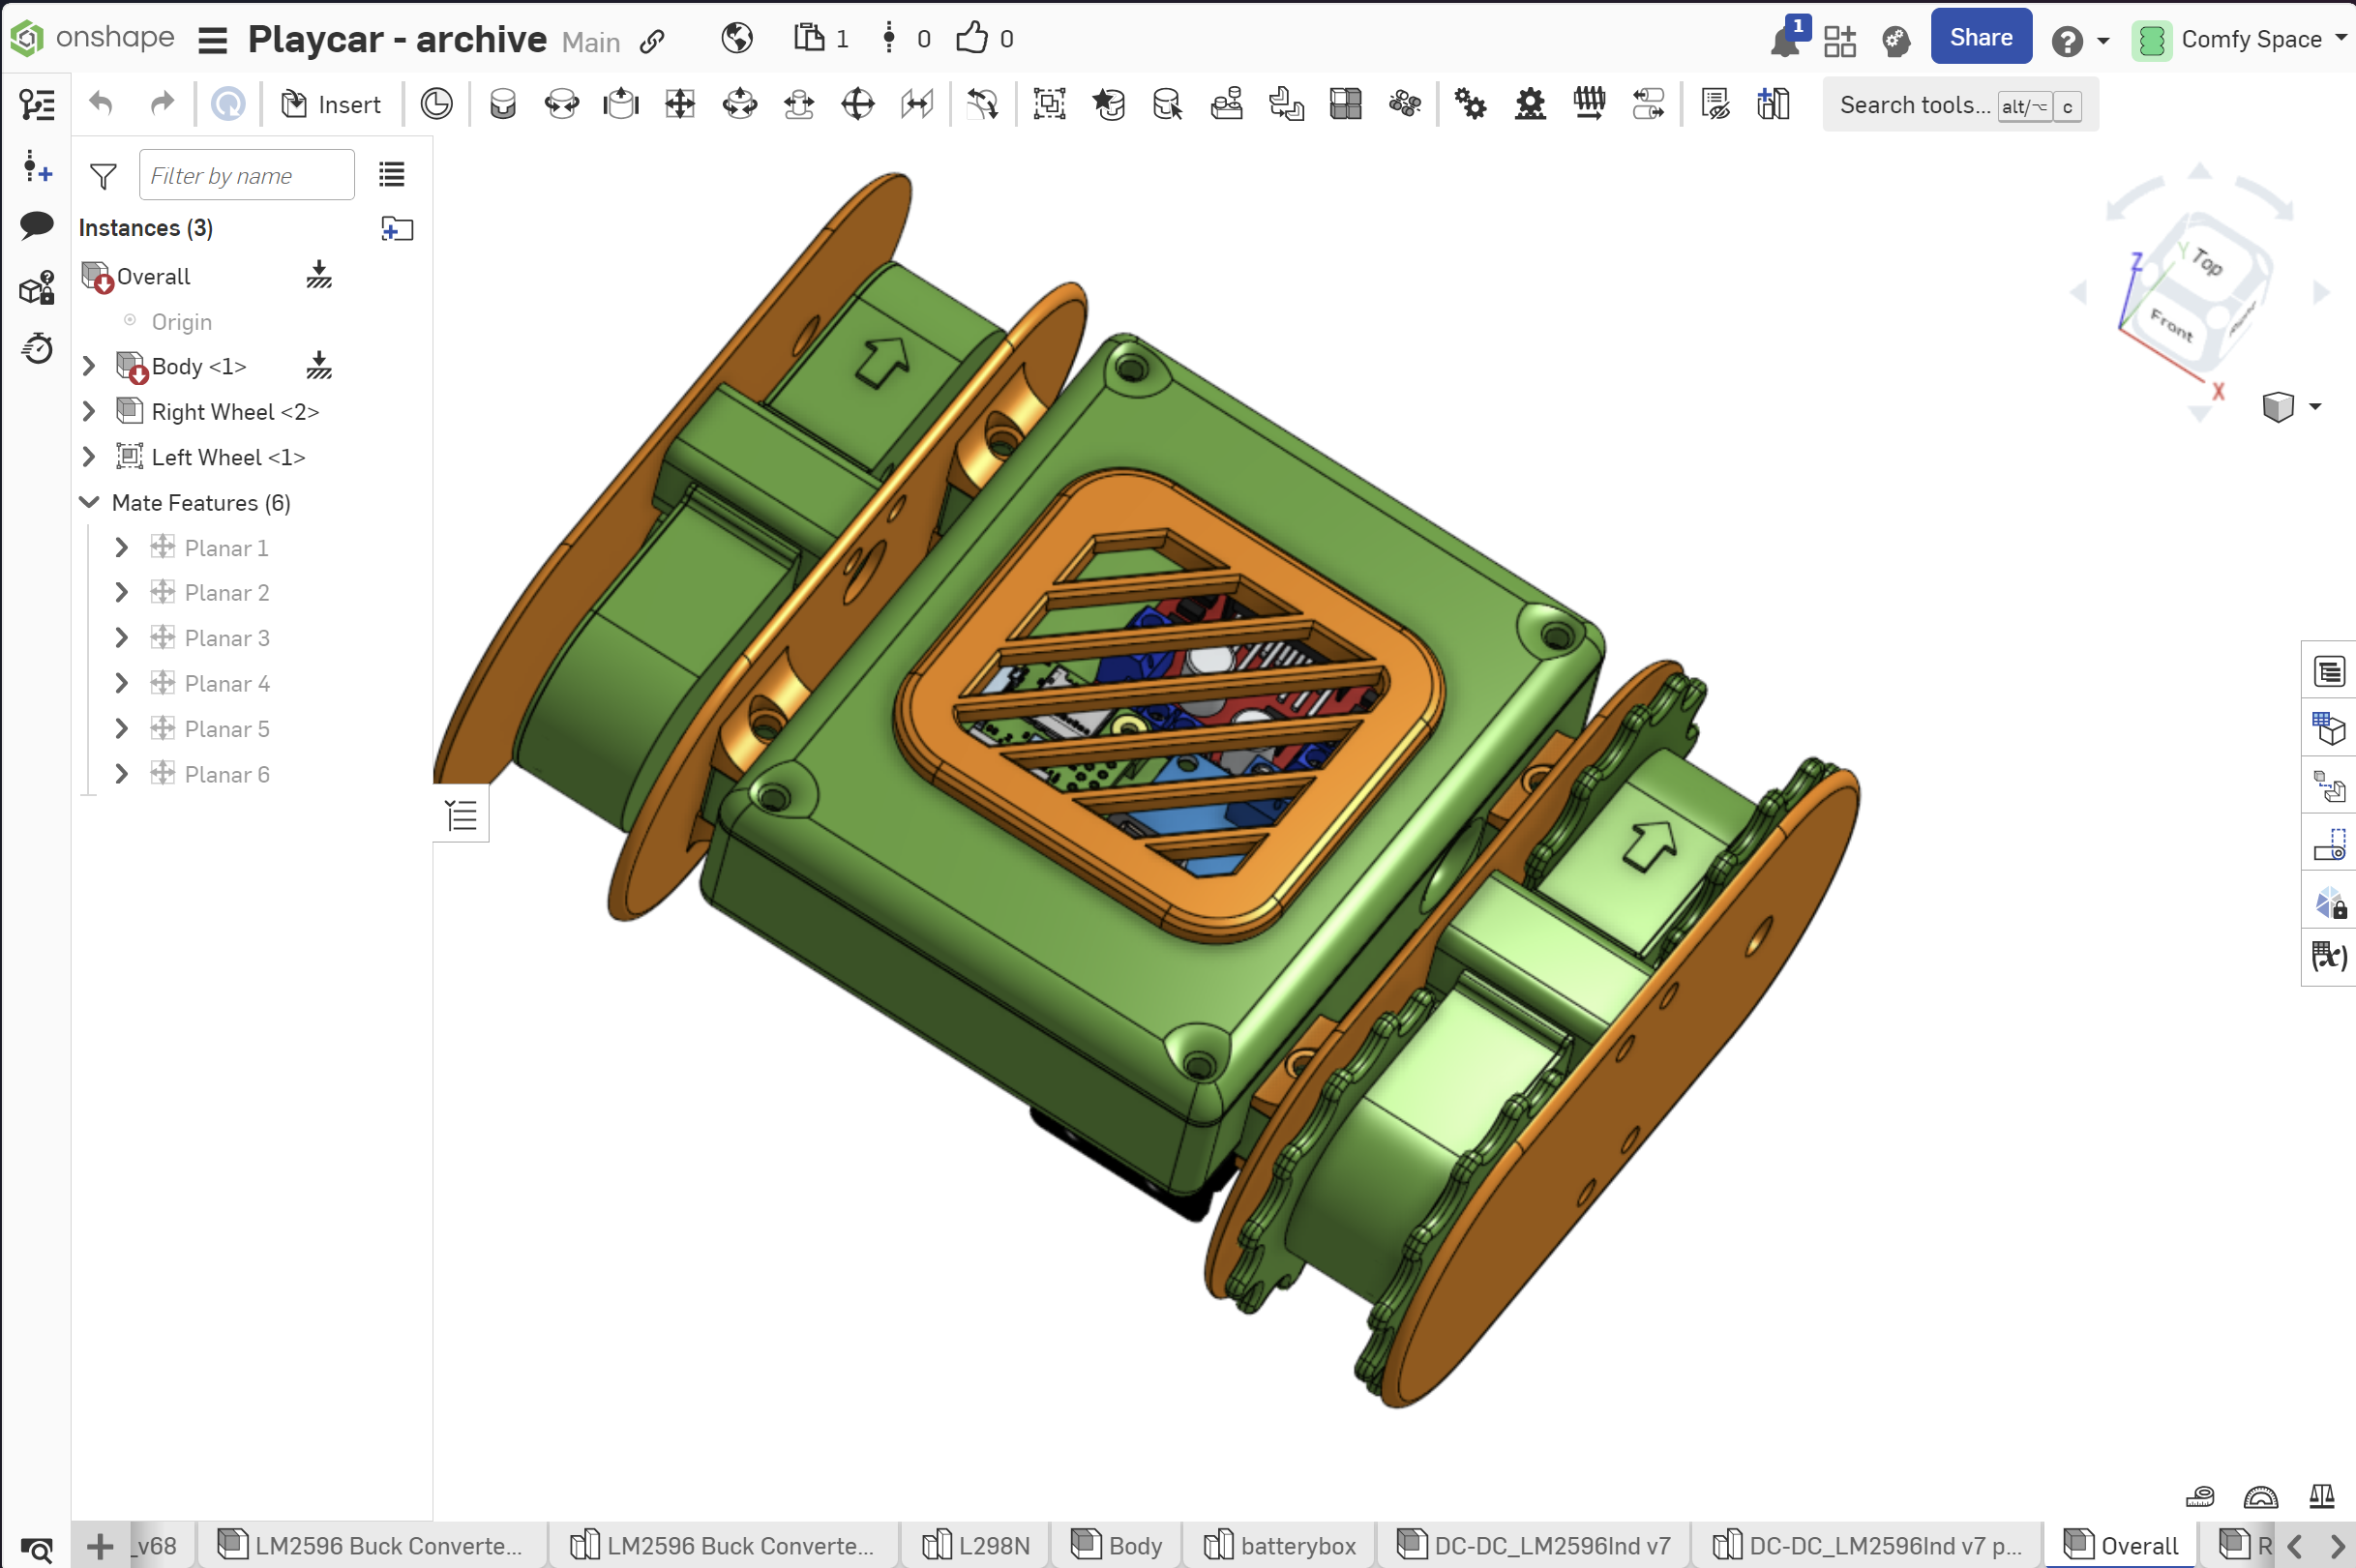
You can customize the 3D design here!
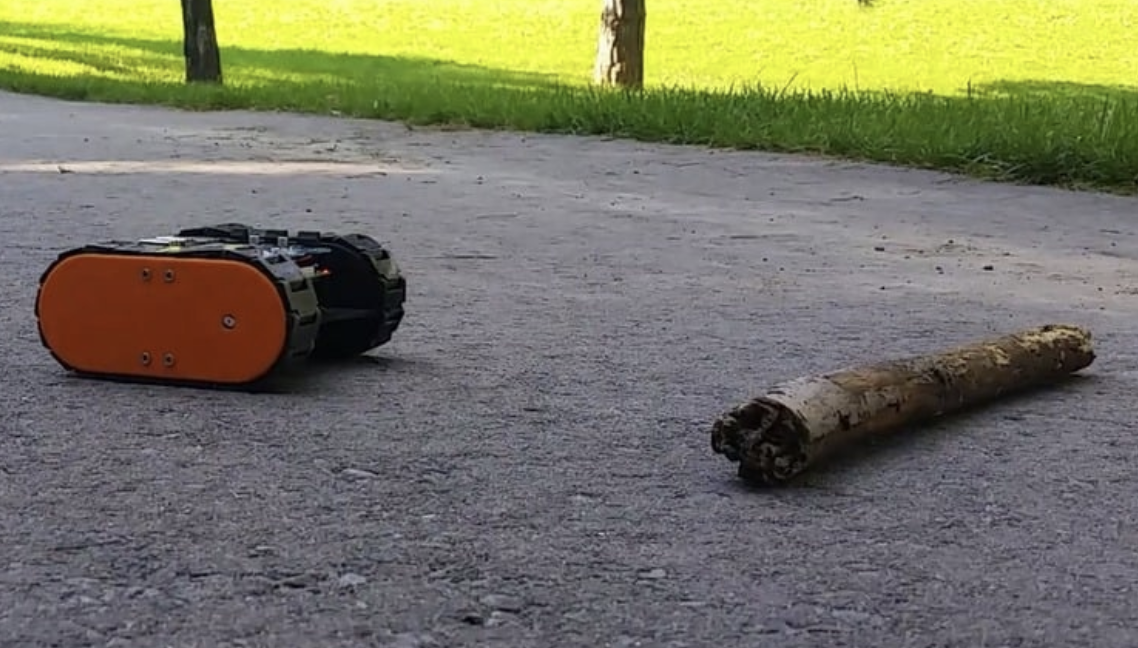
Rover Tracks v2 by nahueltaibo