Comfy Projects
An AI friend you can talk to!

Components
Here are some components you need for this project. Most of these can be used for multiple projects!
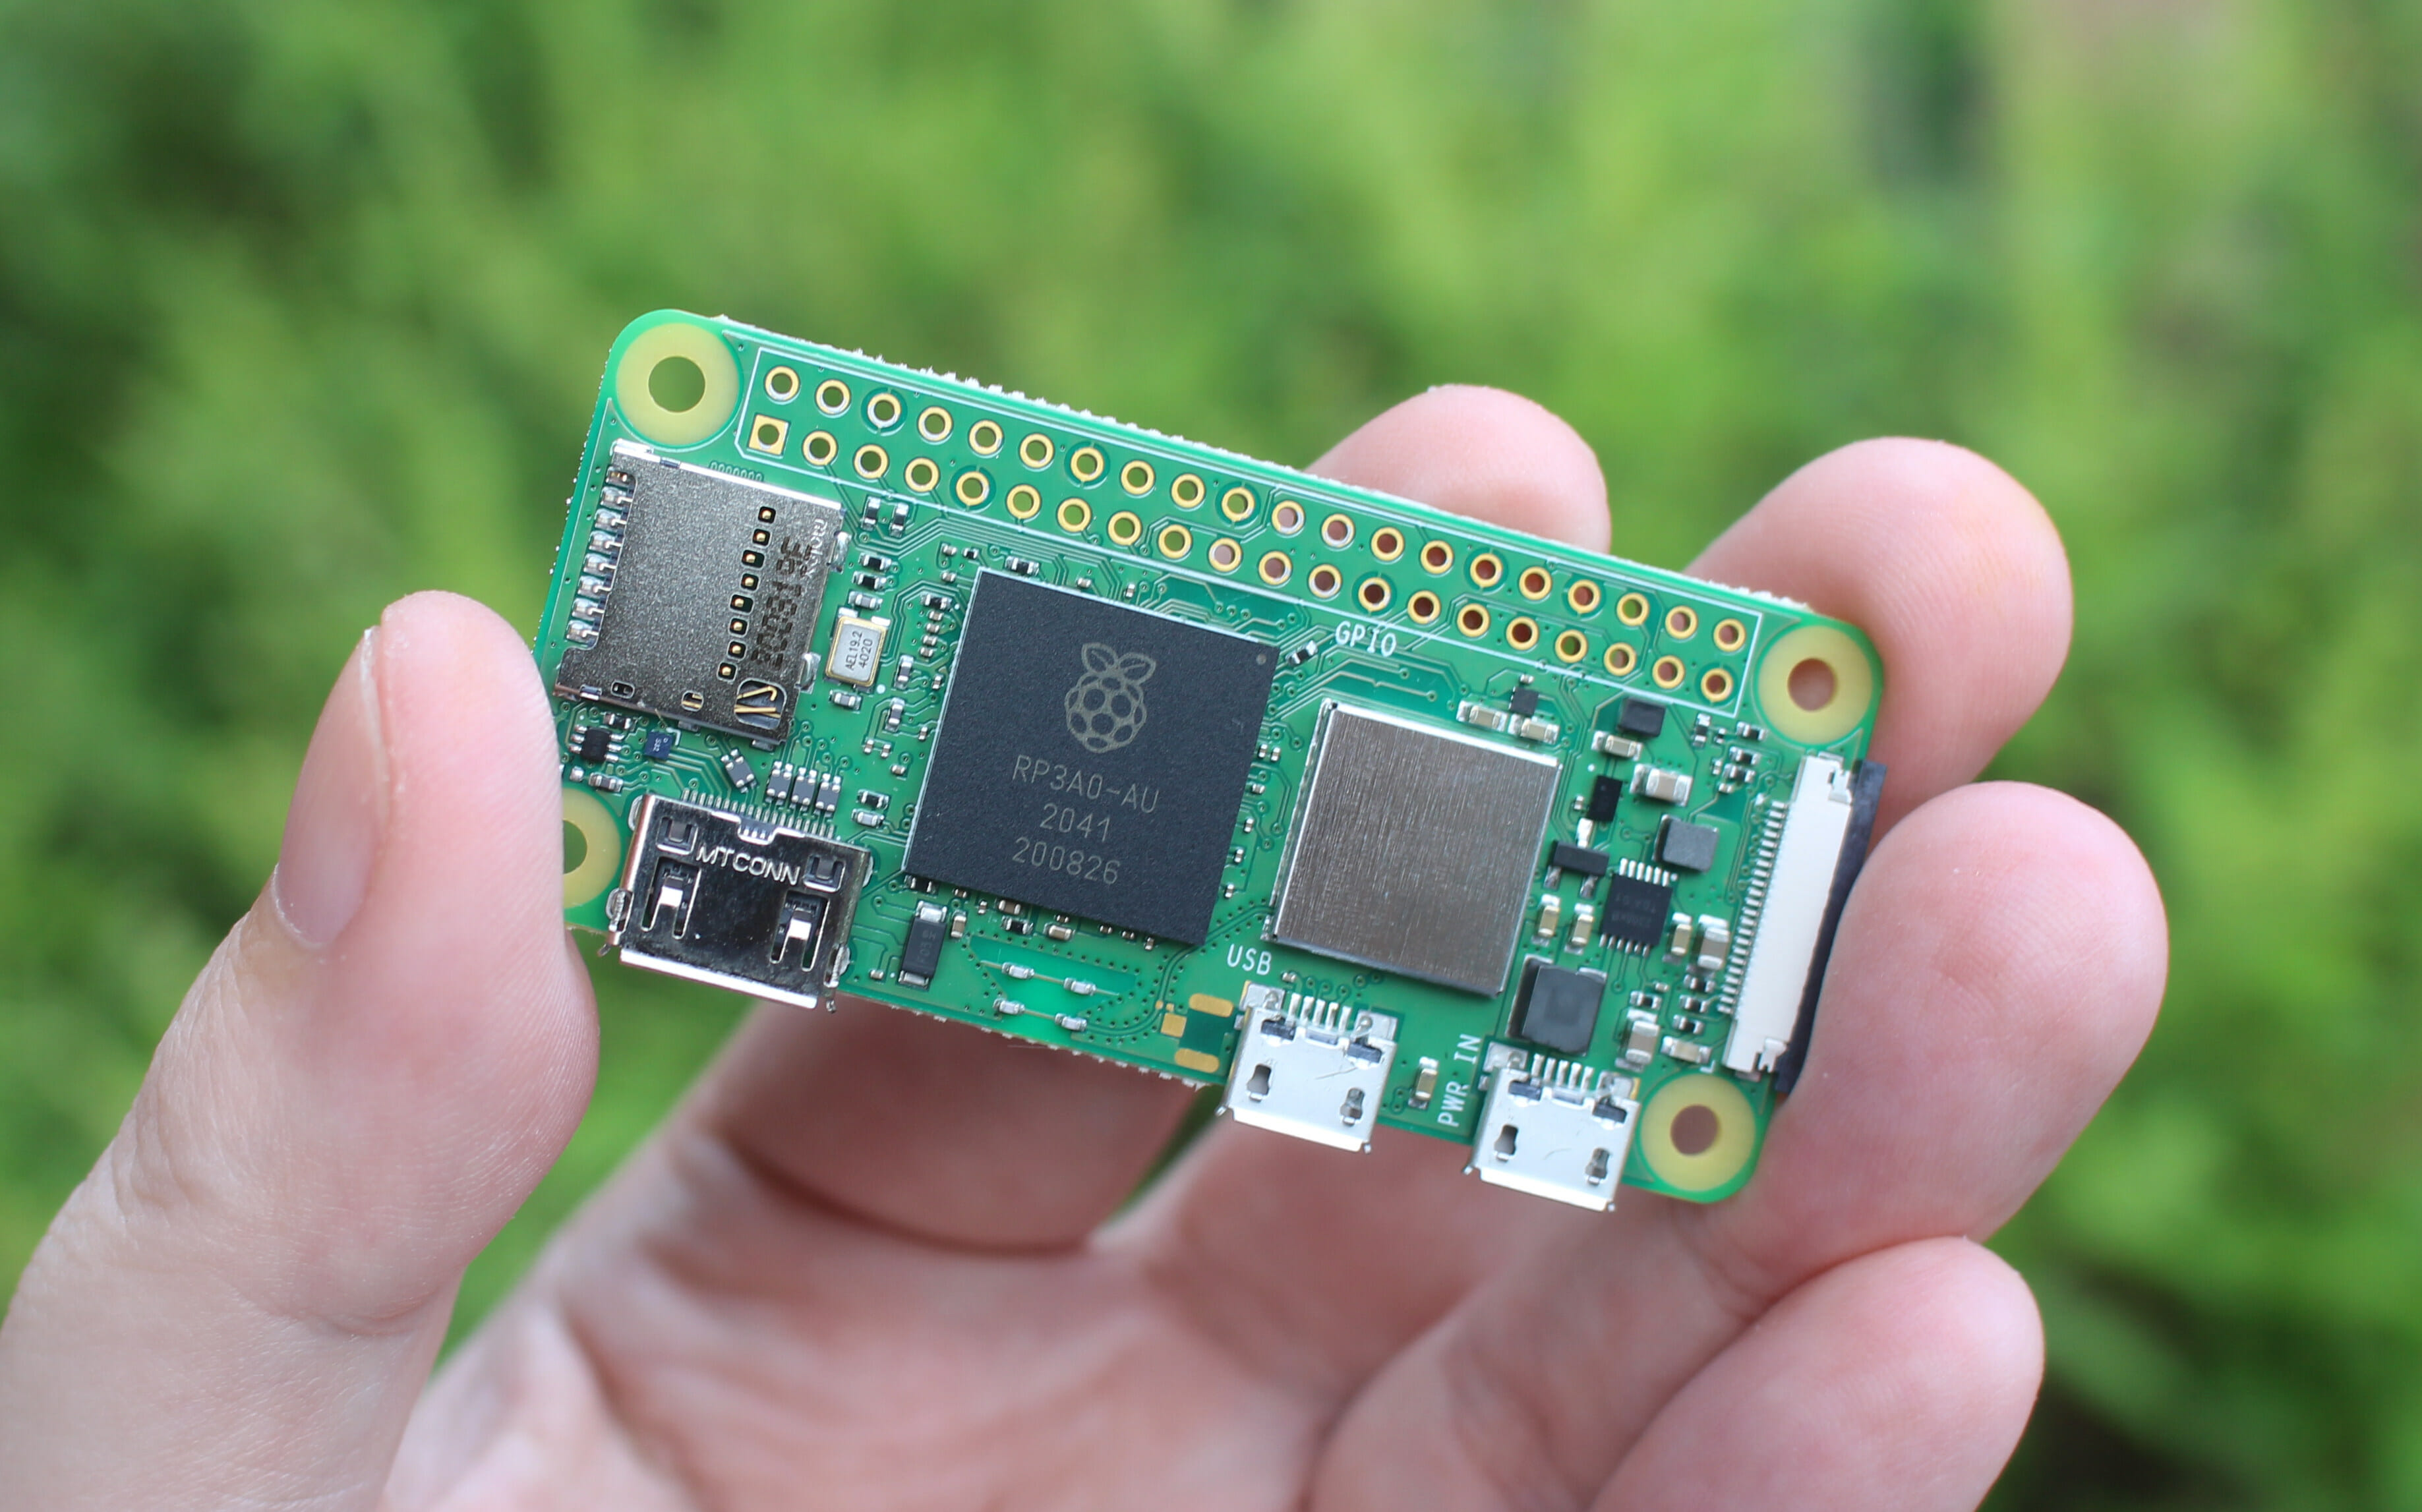
Small but mighty. Packed with plenty computing power, this bad boy is the brain of the operation.

Easy to use, sustainable & available everywhere.

Chances are you have one around the house. If not, pretty cheap.

You can even use your phone charger at home! Just make sure it's 5V.

Wood screws (because they're cheap) to assemble parts together. A pack will last you years worth of projects. You can use some random screws around the house instead.
This will be used to run the Operating System (OS). Anything above 8GB in capacity is enough.
Tools
You might already have these tools. If not, ask around!
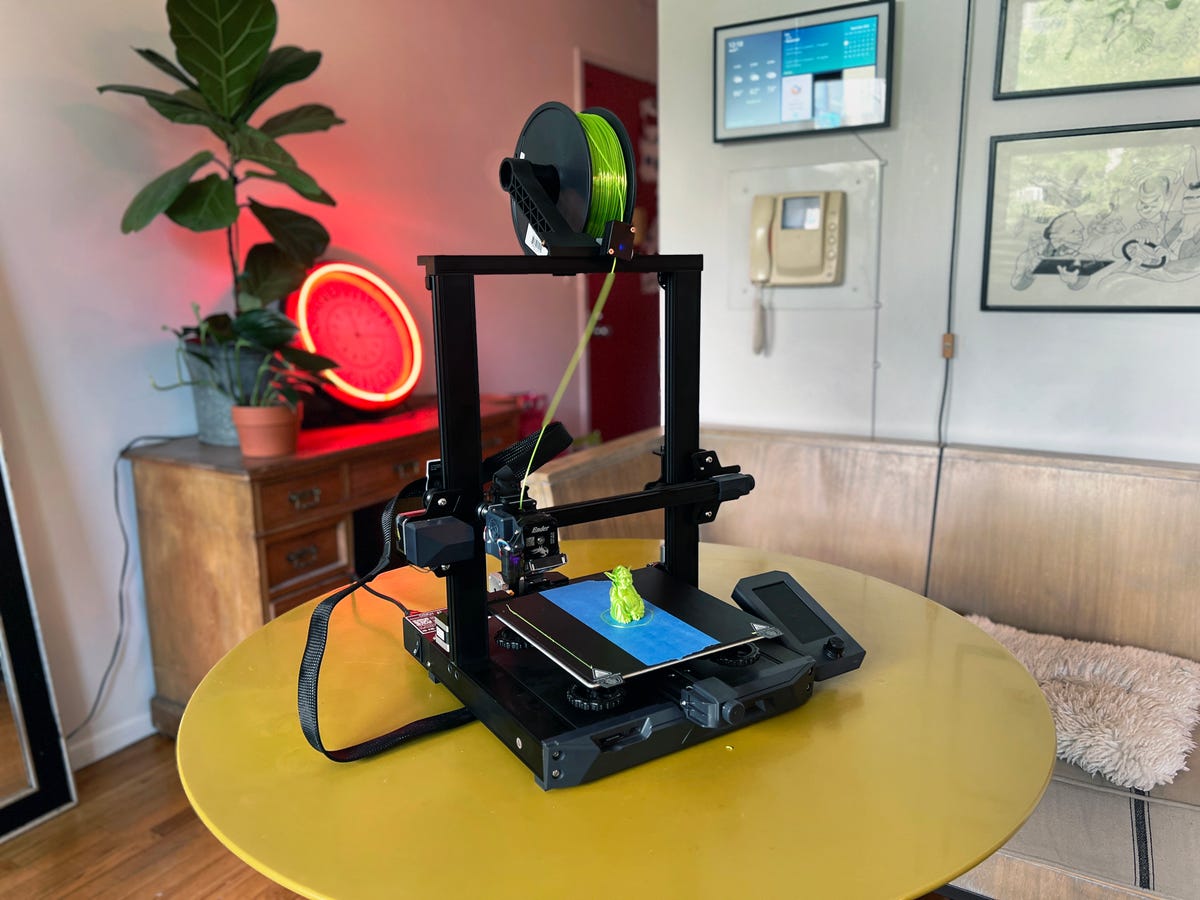
This is used to create the enclosure. The device still works without an enclosure, so if you don't have a 3d printer, don't sweat it.

Nothing fancy, you can borrow a friend for an afternoon.
Artificial Intelligence (AI) is everywhere, leading to the introduction of many devices such as the Rabbit R1 and Humane AI.
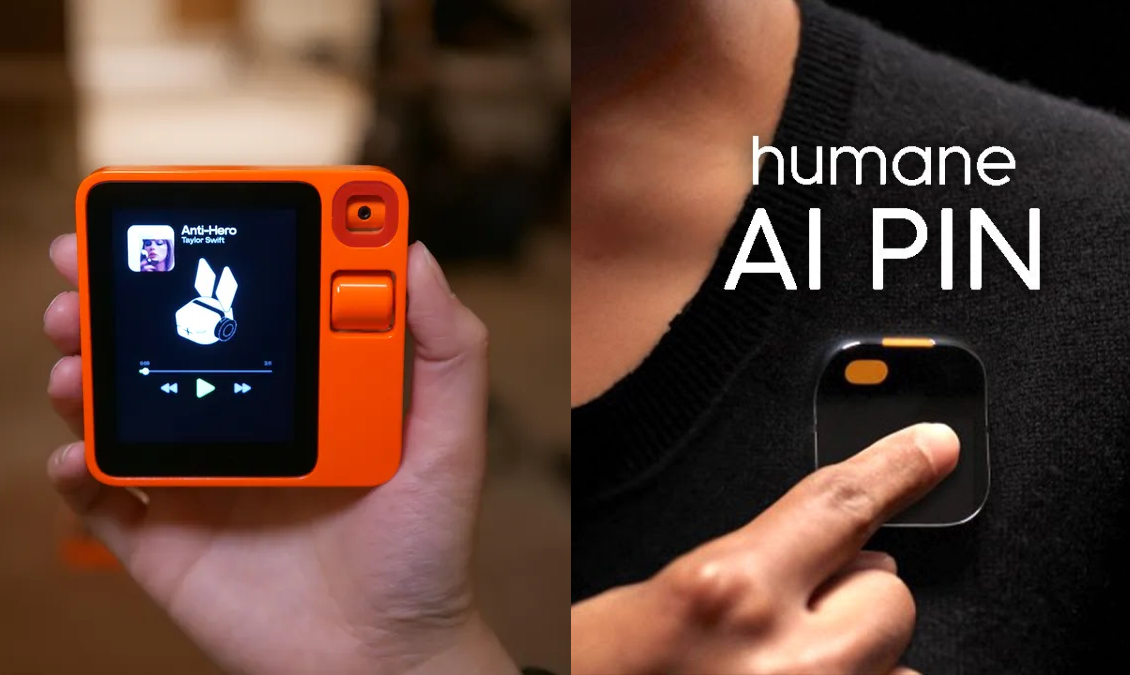
These devices cost 200-700$ (with subscriptions)
I believe powerful devices like such should be accessible to all - cheap & simple to make/own.
That's why I created Rappit, an affordable DIY alternative that's easy to make.
You can make your own for 20-40$!
To make the build cute & make you feel bubbly inside, print the enclosure below!
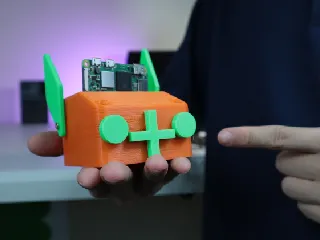
Download the STL files below & 3D print them per instruction.
If you don't have access to a 3D printer, email me at thomas@comfyspace.tech and I will print for you for free!
This step involves making simple mechanical & electrical connections.
Attach the AA batteries holder to the Enclosure.
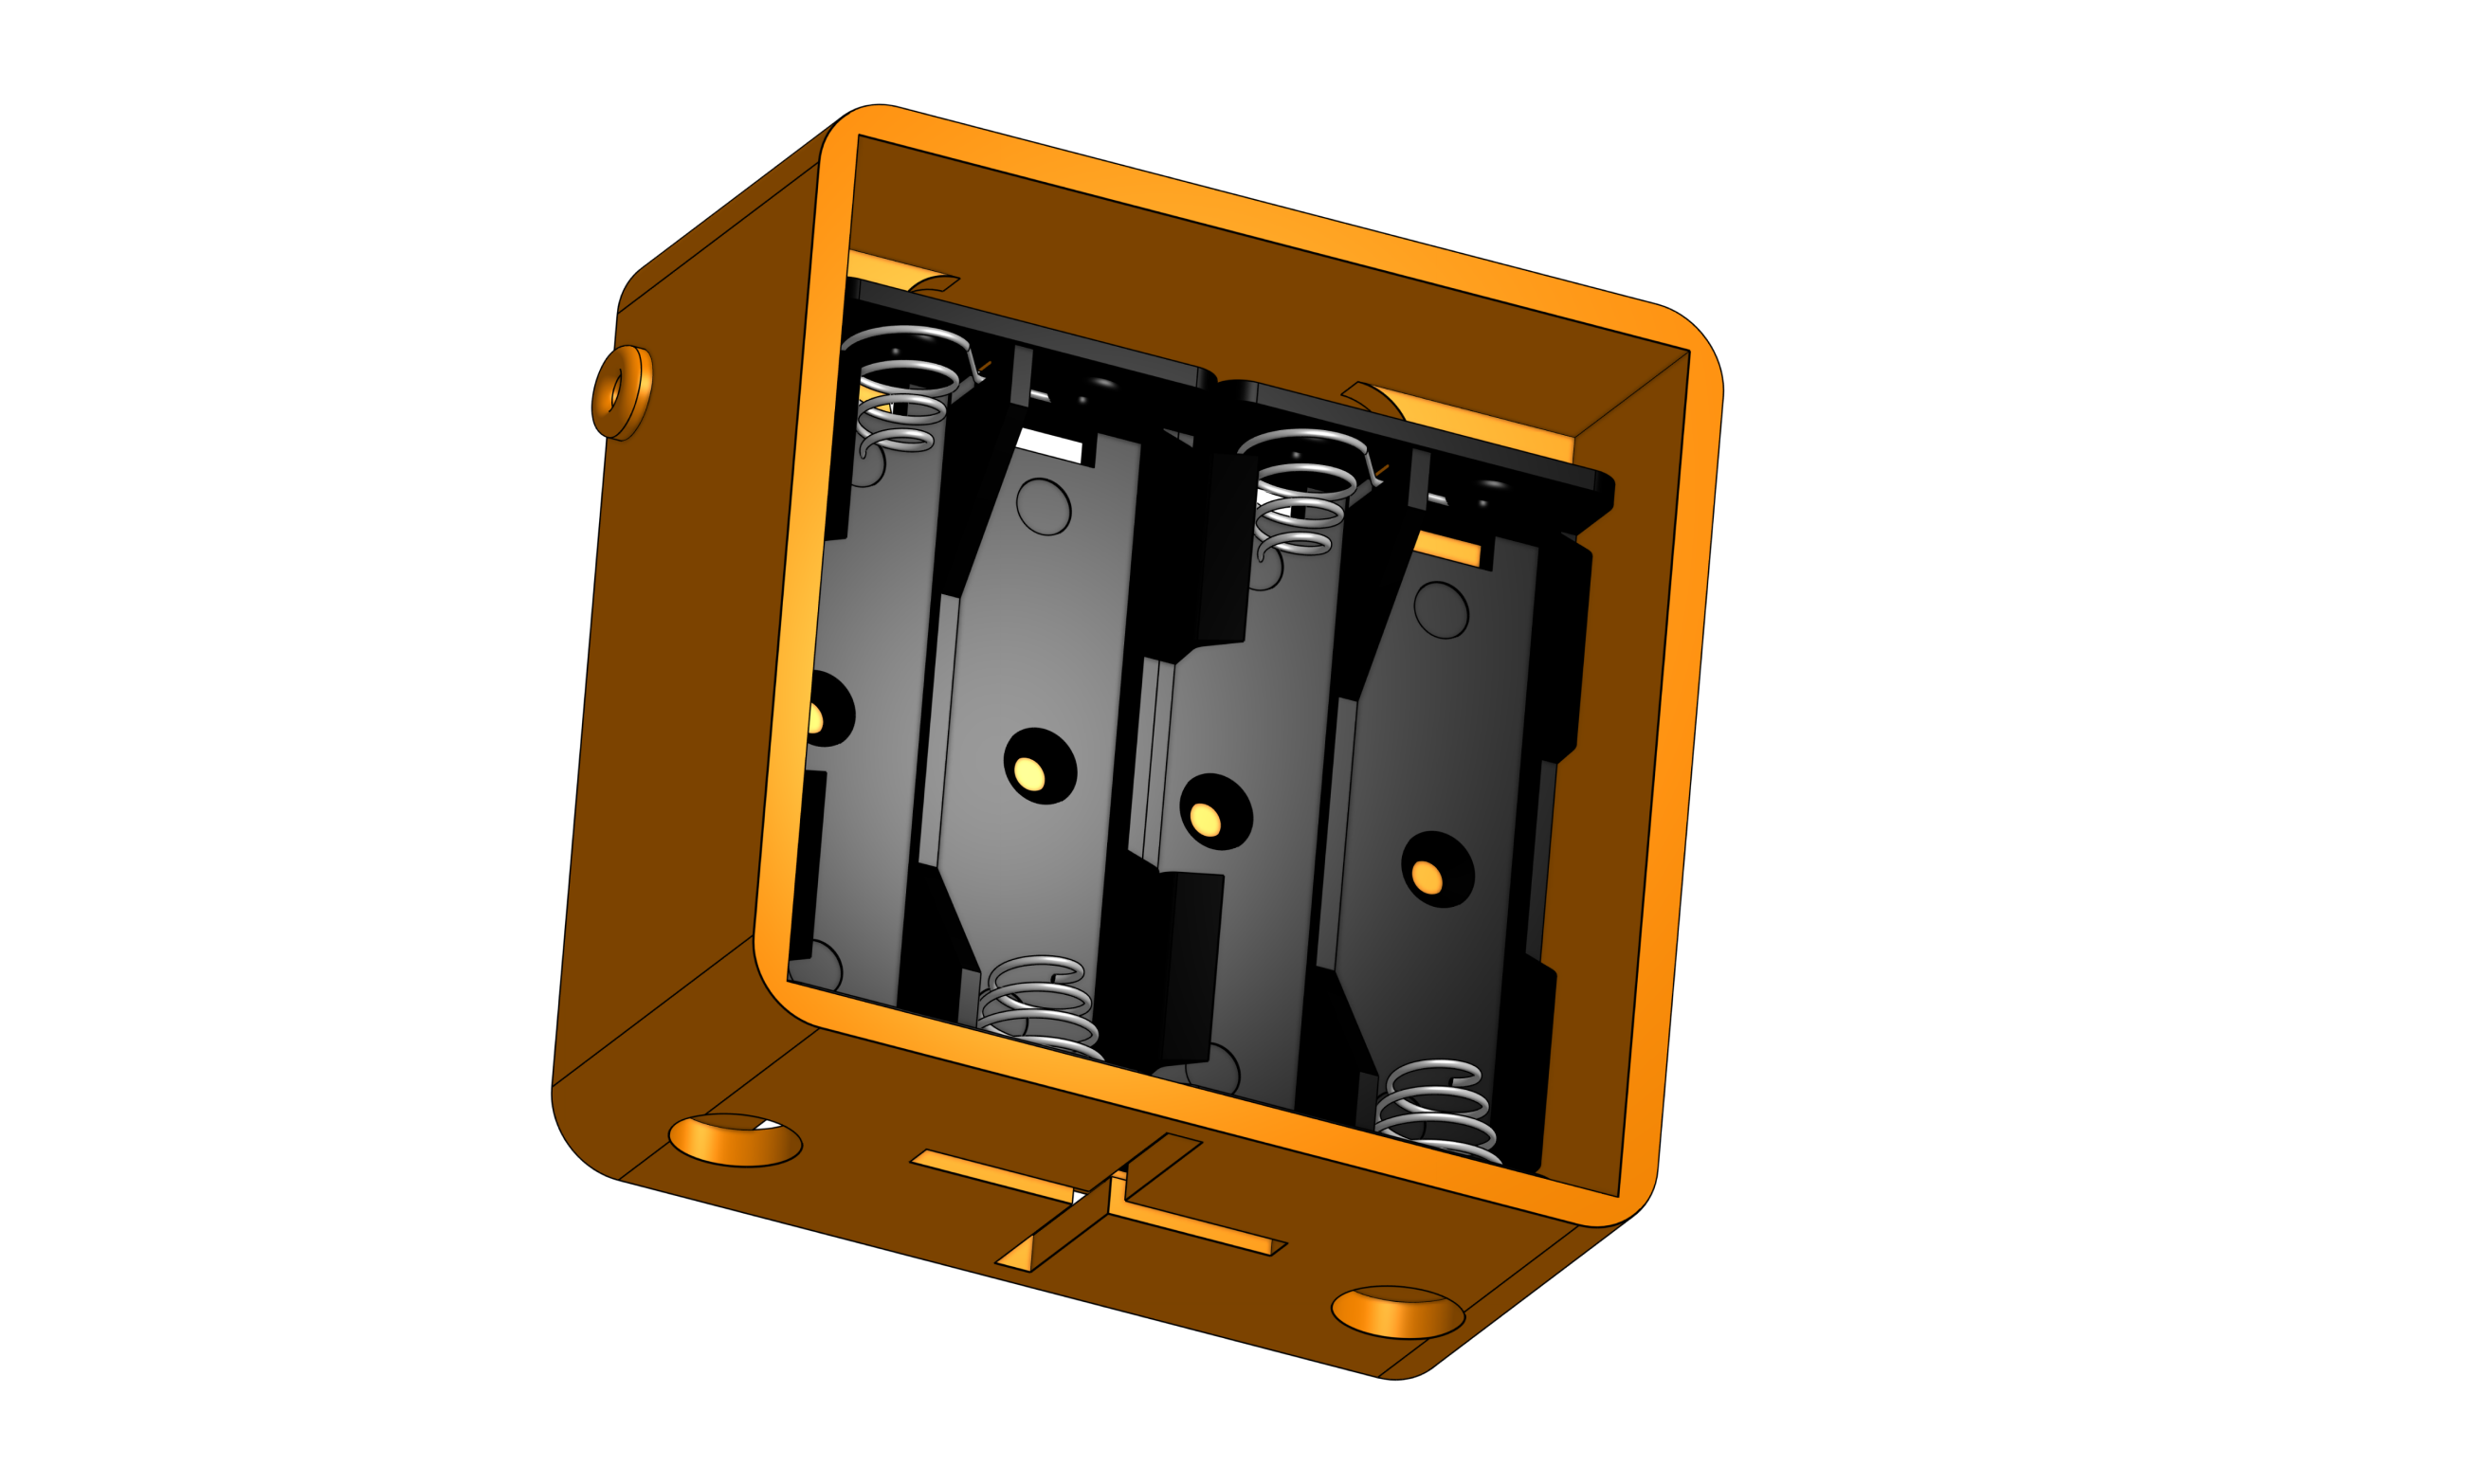
Remember to use rechargable AA instead of normal AA to avoid damaging the Raspberry Pi.
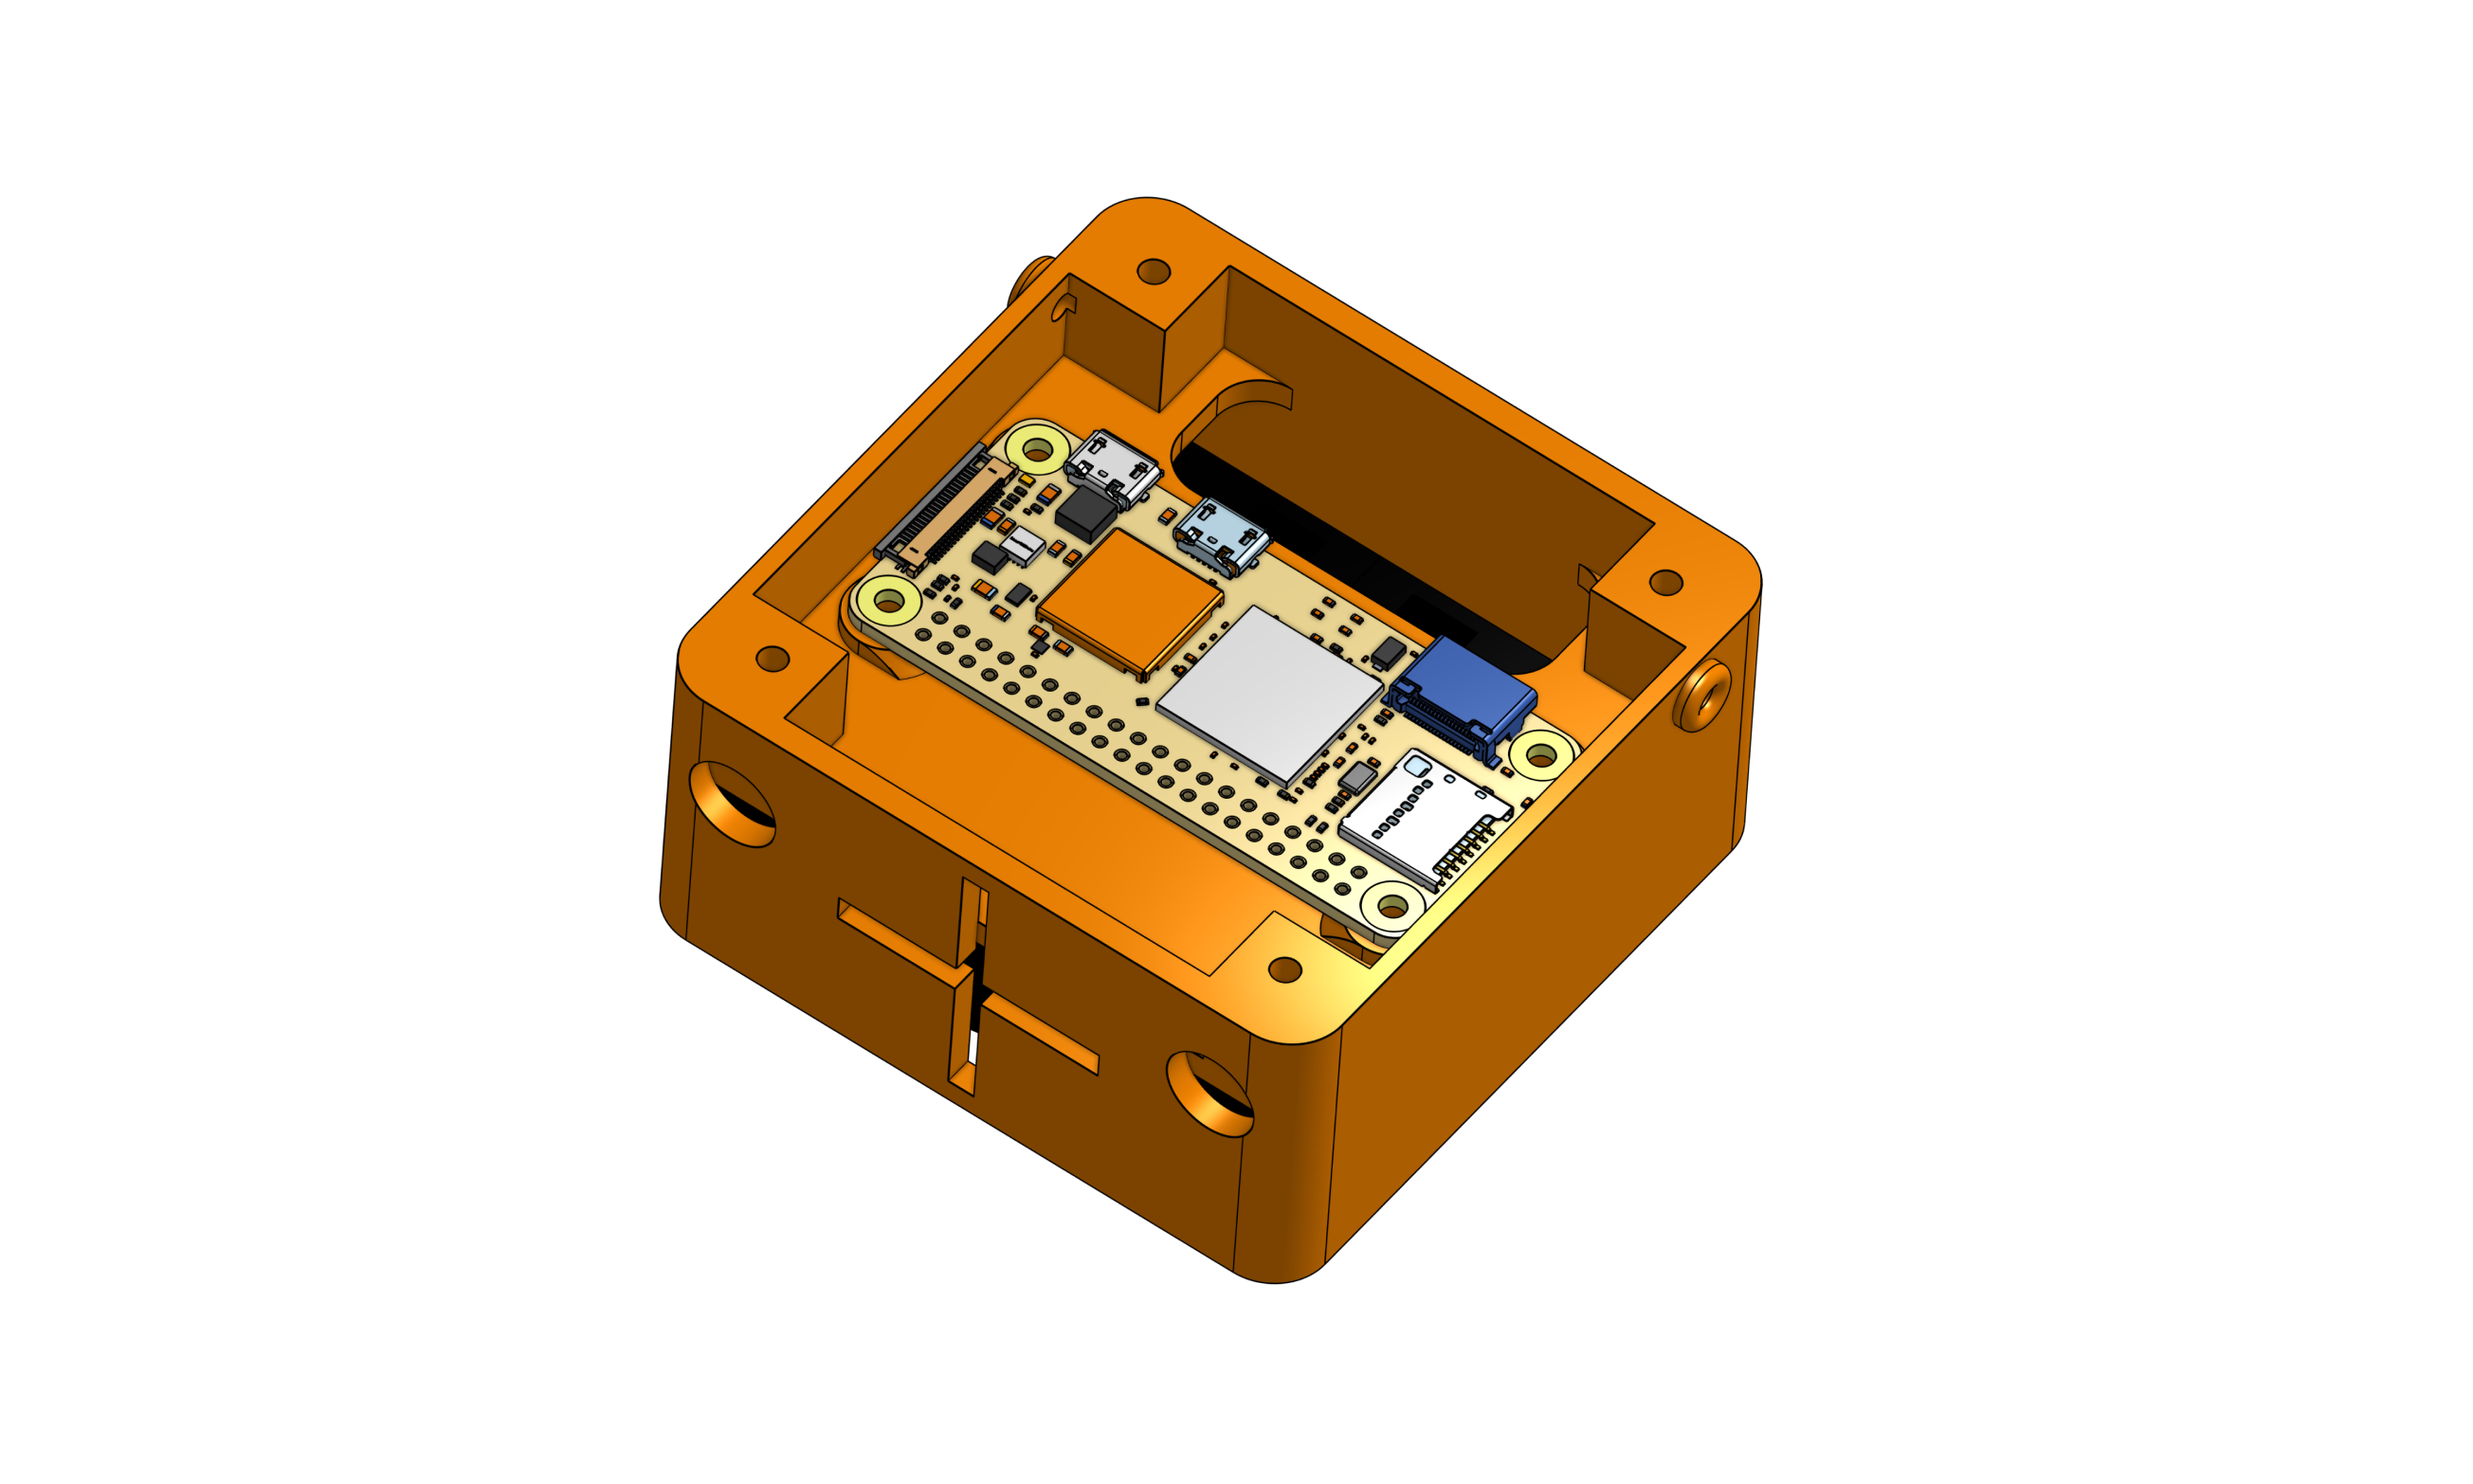
Assemble the Raspberry Pi (and SD cad)
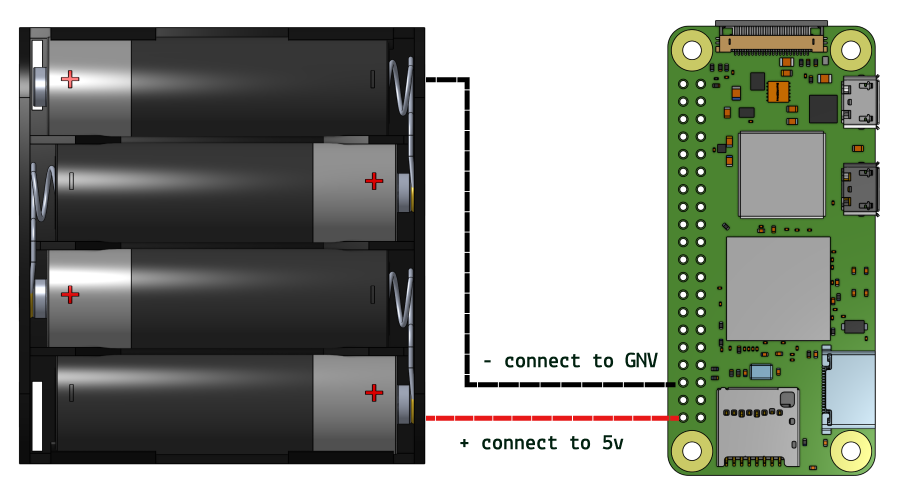
Connect the AA battery holder to the Raspberry Pi 2W.
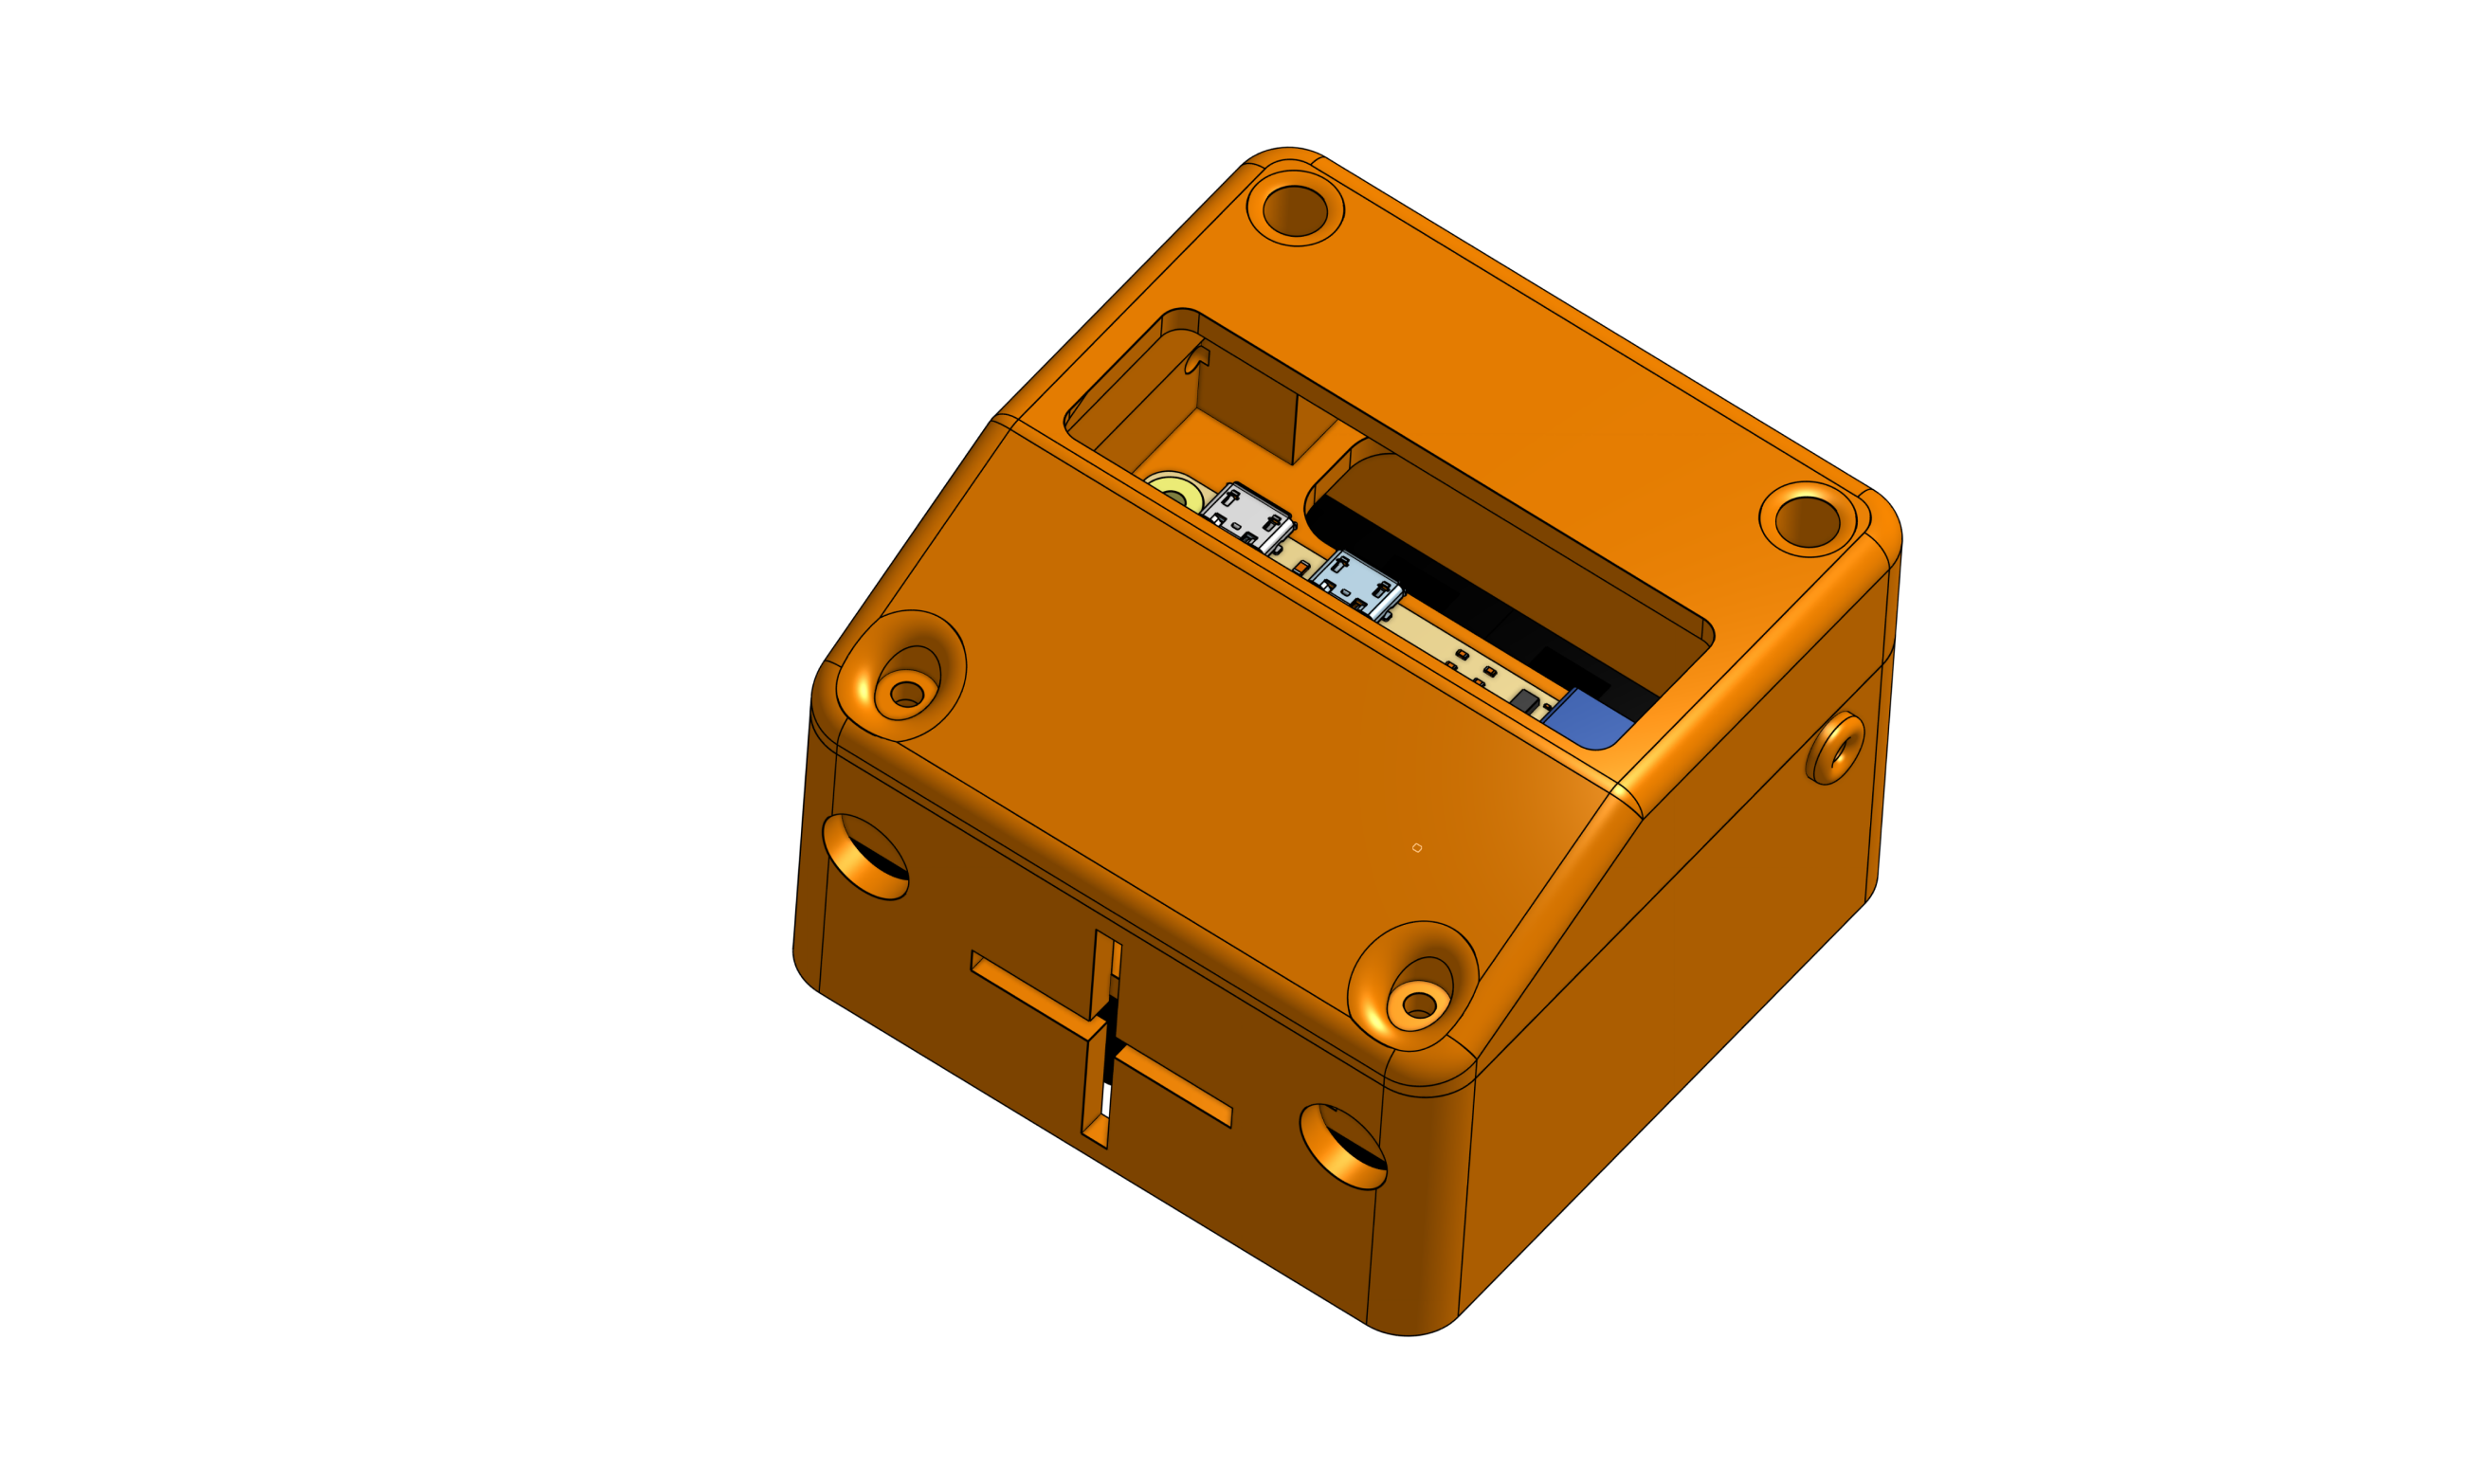
Put the Lid on top.
Attach the ears (using #3 screws) and eyes & mouth (friction fit)
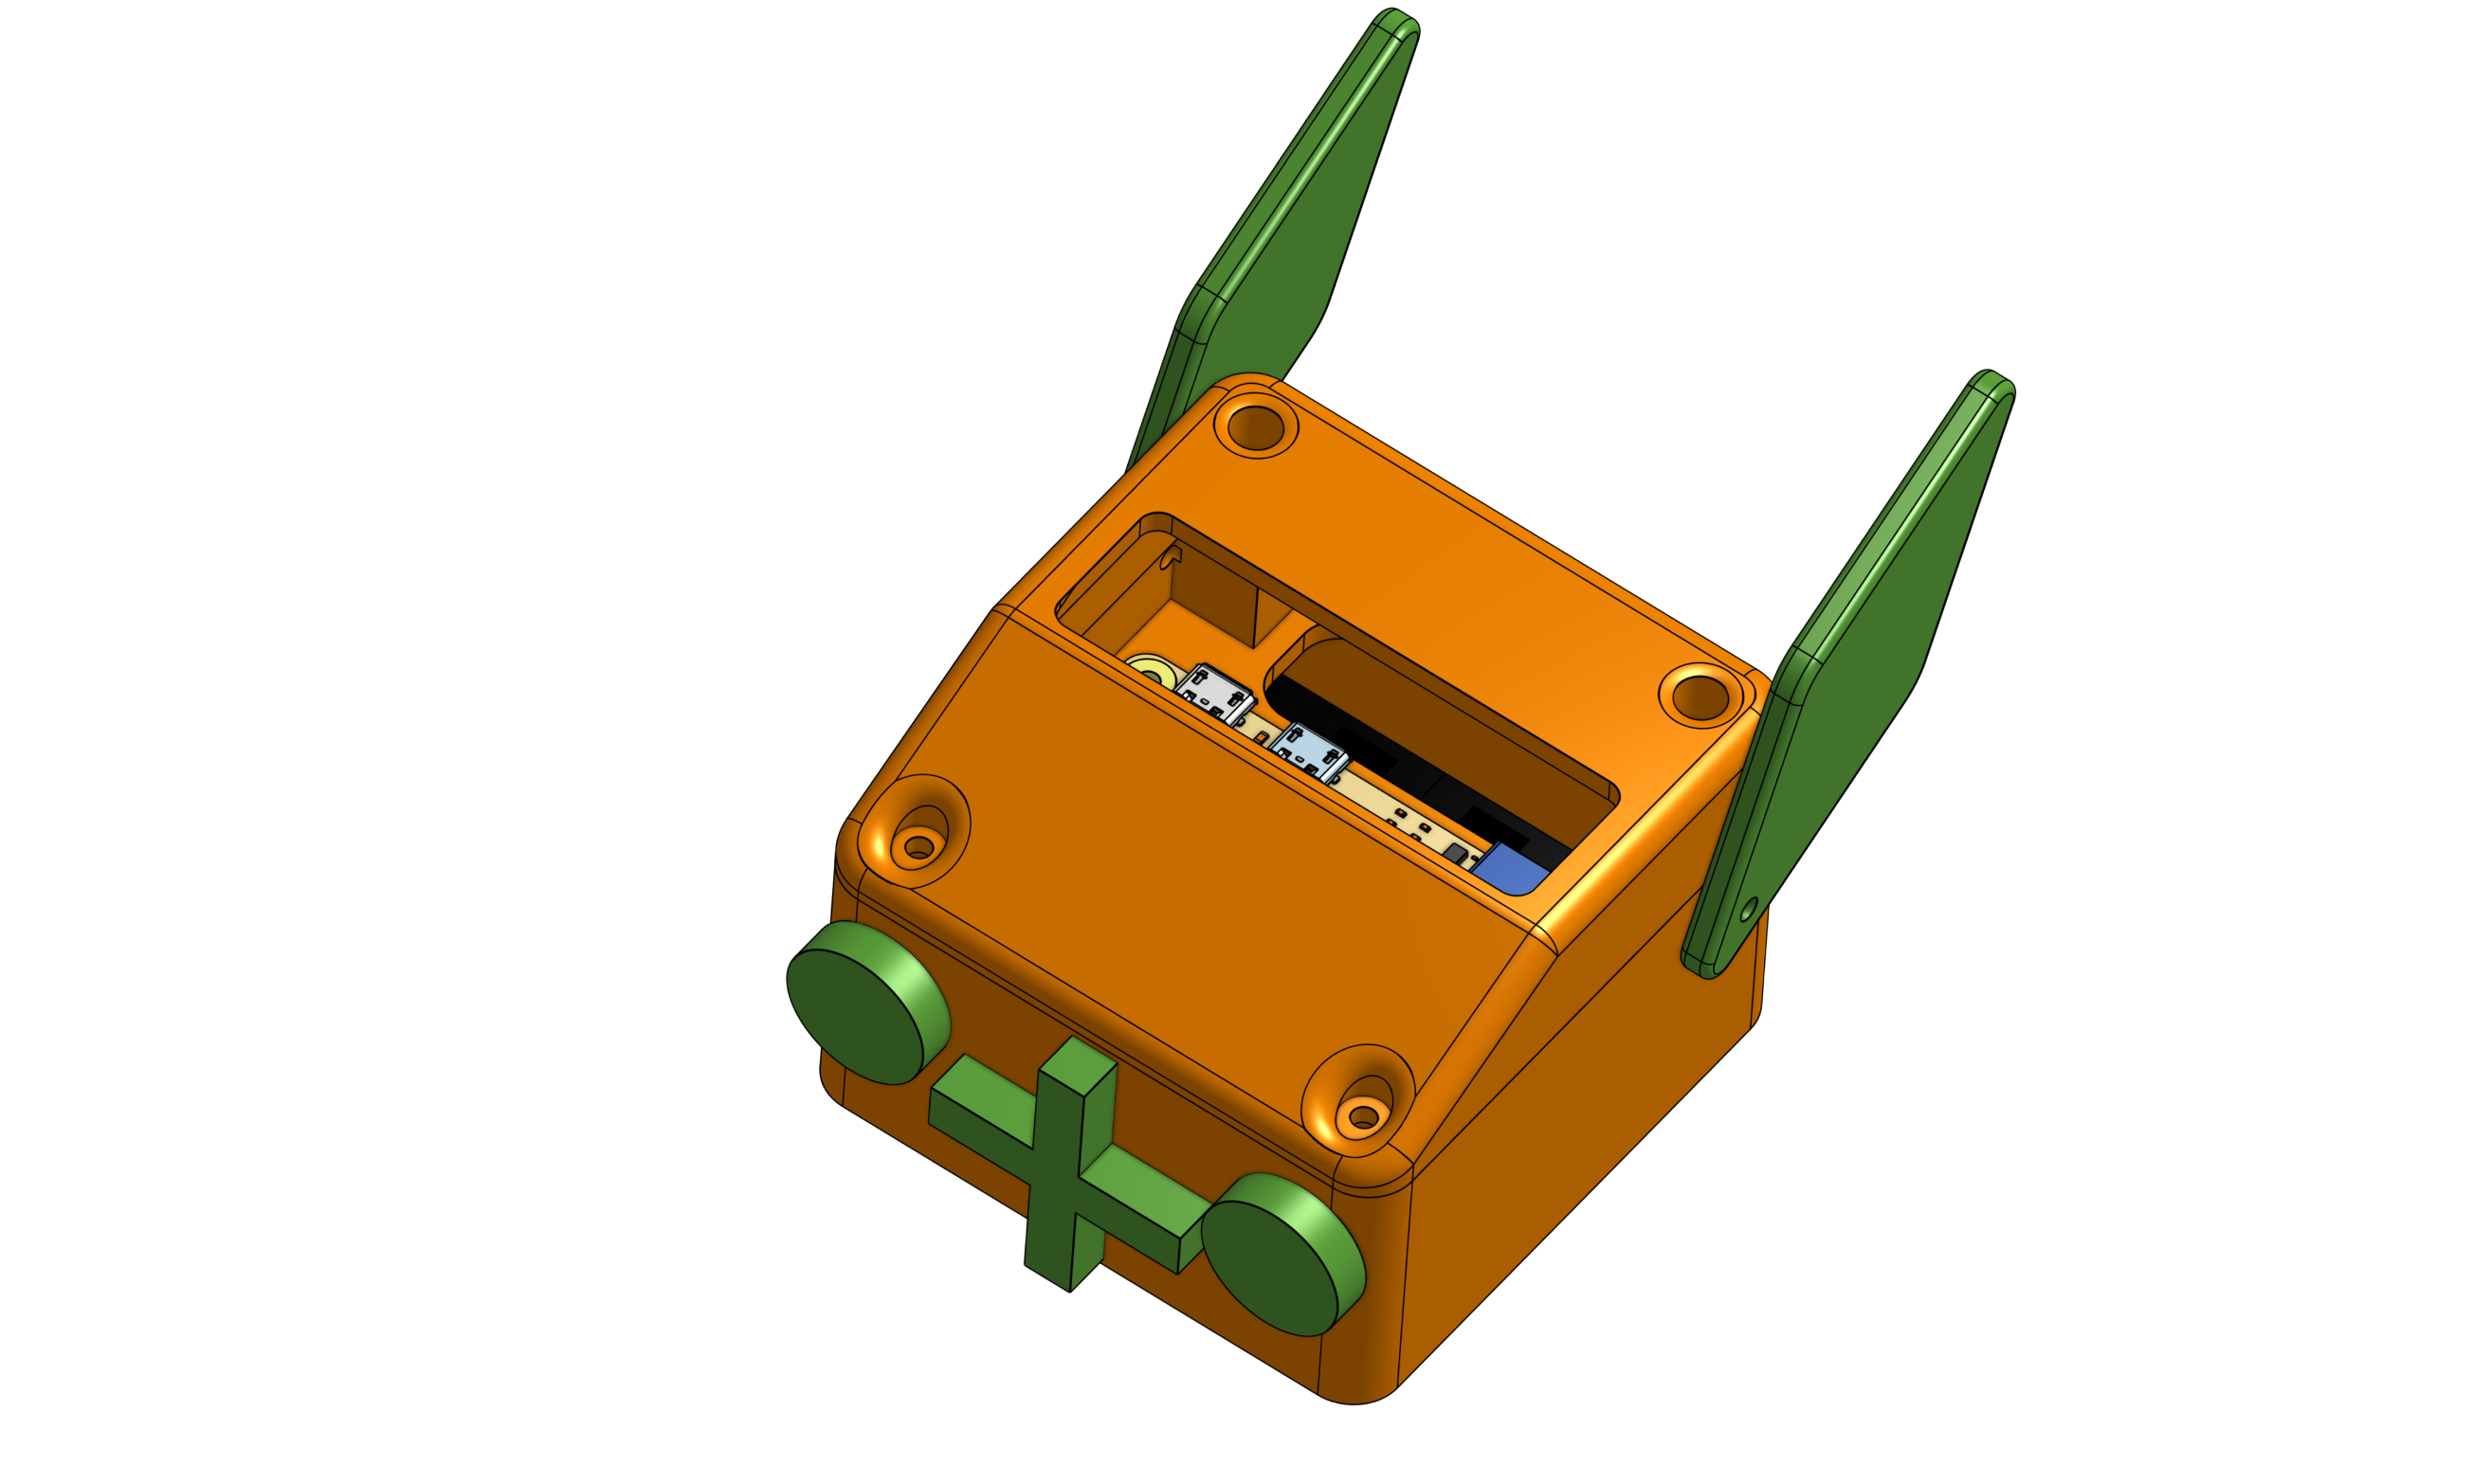
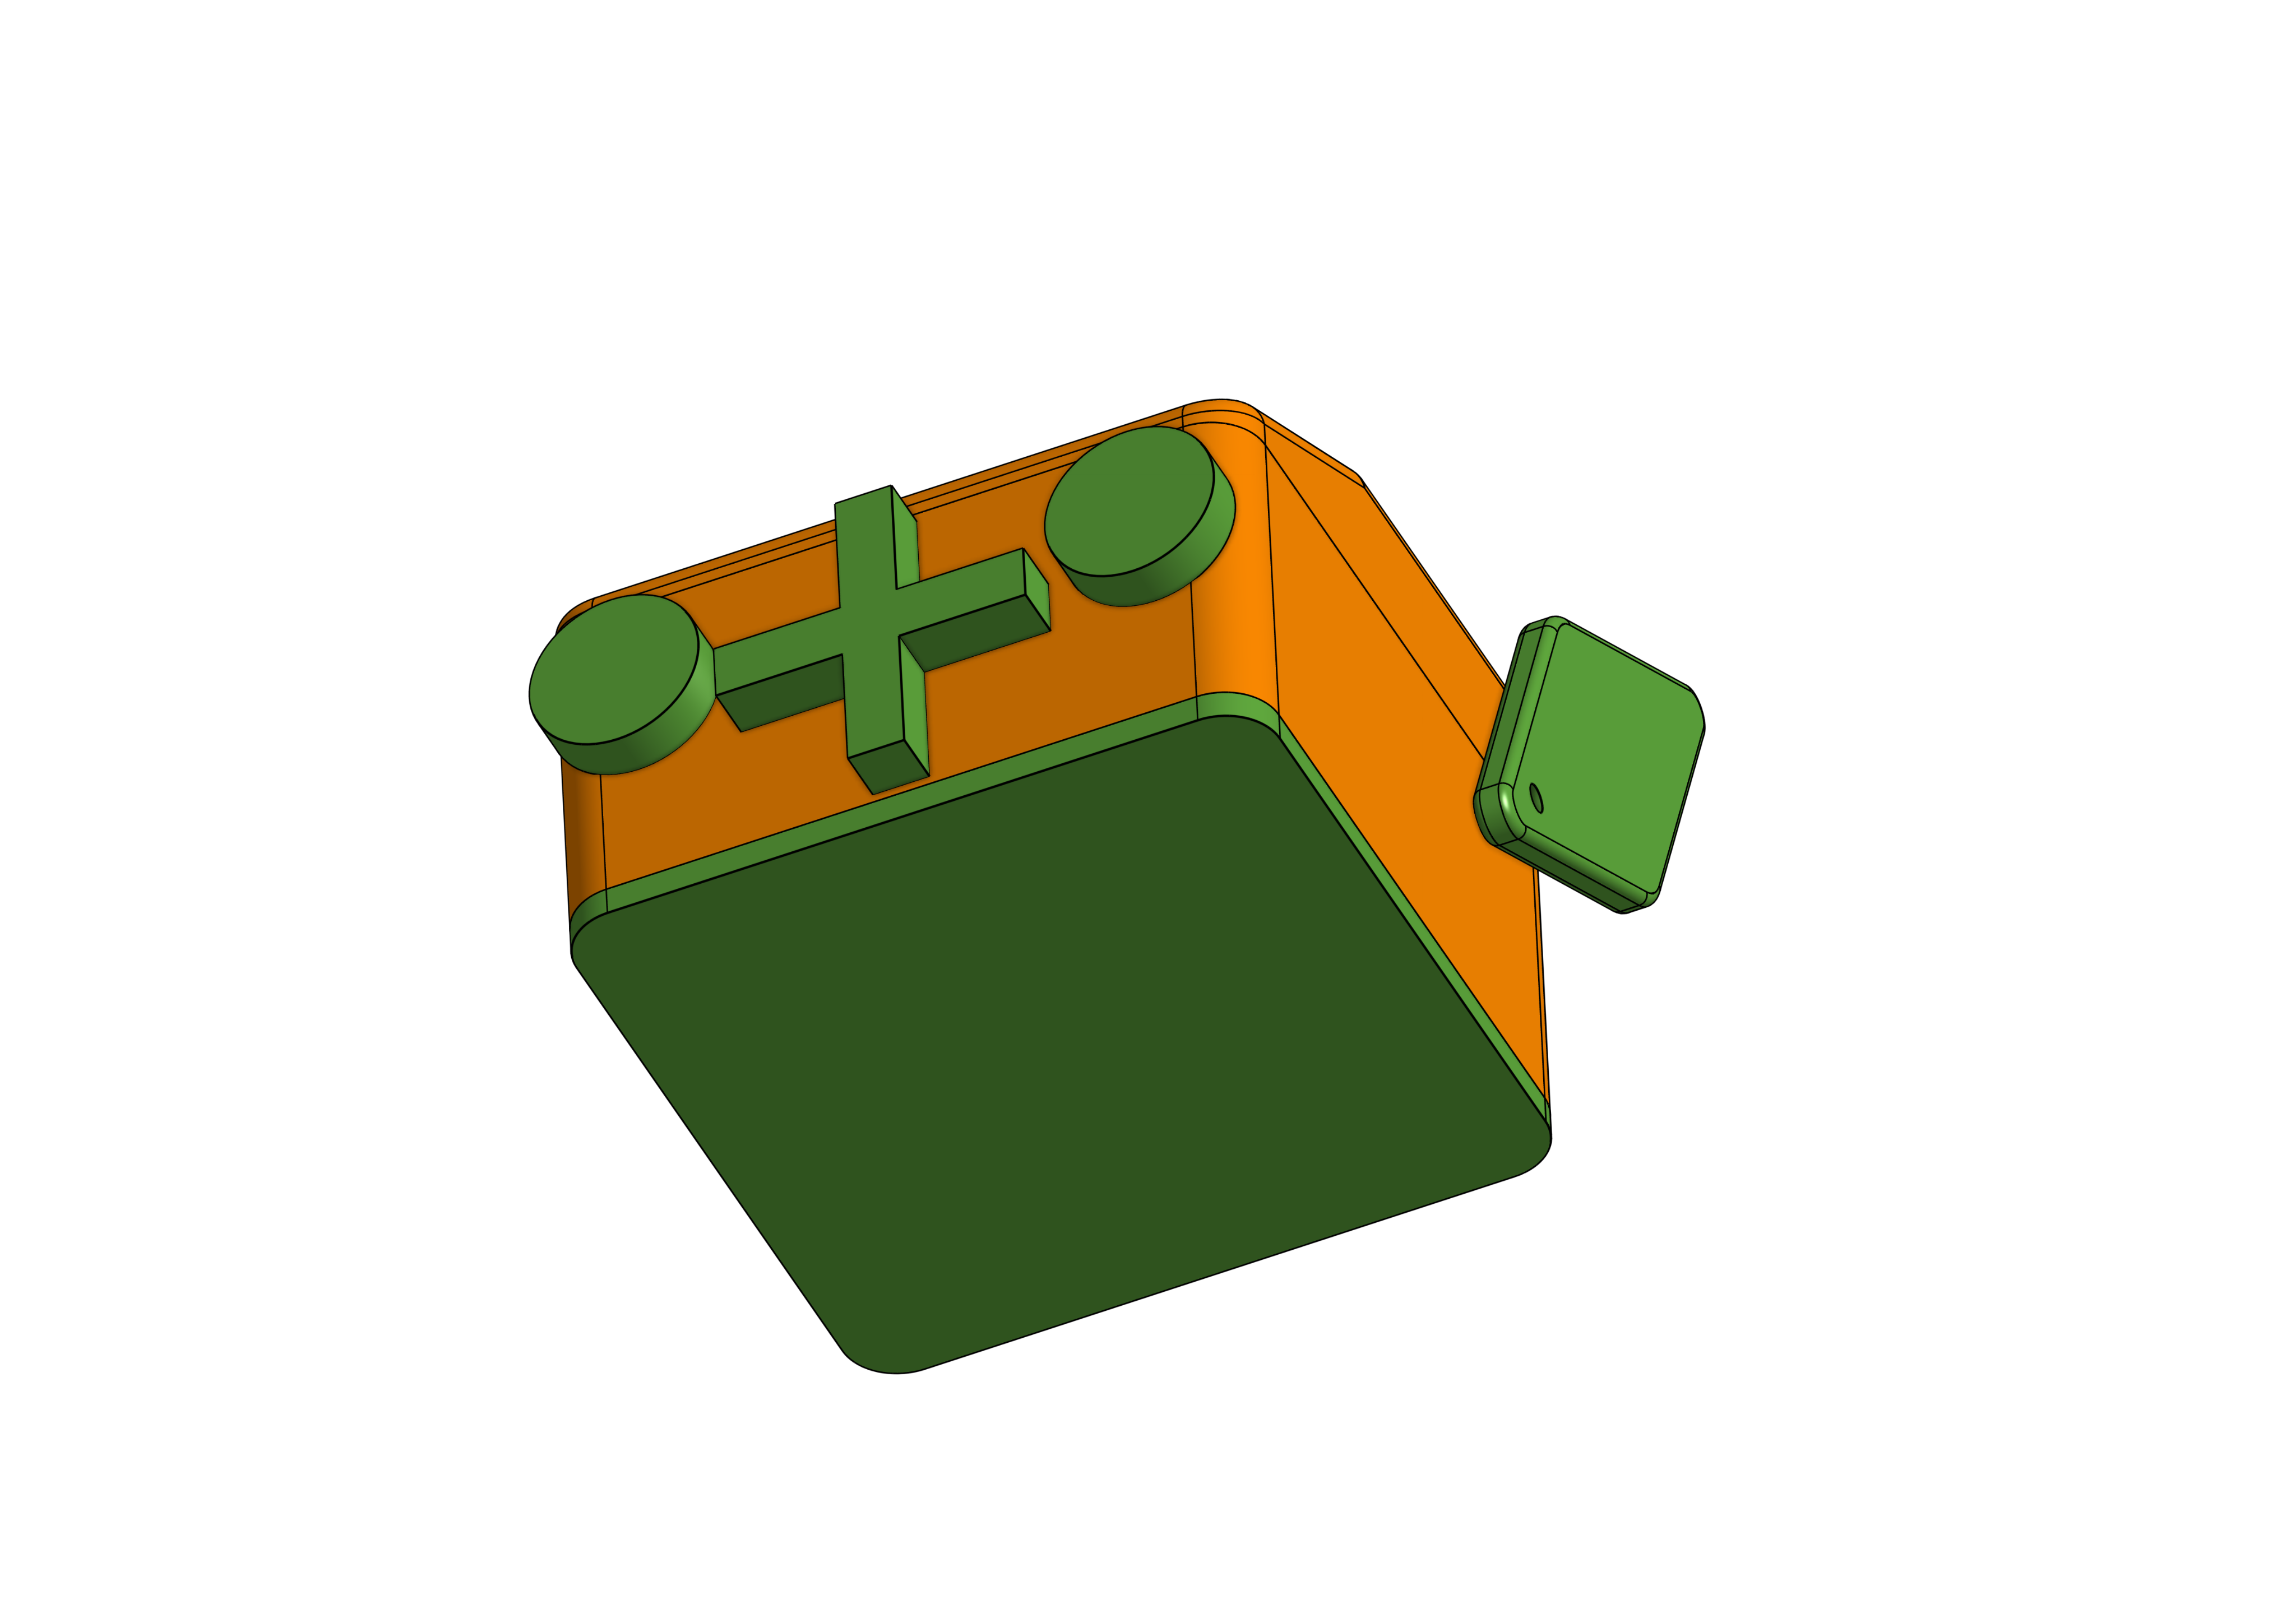
Lastly, put on the Bottom Plate (friction fit)
In this step, we will put some low-code software magic on this cutesy rabbit!
This works on both Playstore (Android) and Appstore (iOS)
Feel free to ask it anything!
Congrats on your Rappit! Enjoy it & share onlin!. Email me a picture or video at thomas@comfyspace.tech to brighten my day!

Available on both Android and iOS

You can customize the 3D design here!